CurtInAtl
-
Posts
85 -
Joined
-
Last visited
Content Type
Profiles
Forums
Events
Everything posted by CurtInAtl
-
Jim would go into cardiac distress at the mere mention of it.
-
Took my little project rifle and a box of Venezuelan surplus to our shooting camp yesterday. It made nice clean holes in the paper with no sign of the bullets being unstable so it would appear that the barrel is OK. I had the smallest boys out there try it out and it seems to be just the right proportions for a 10 or 11 year old. Most of the adults just asked when it was going to grow up. I was surprised that even with full power military ammo and a 16" barrel it was not uncomfortable to shoot. The Pachmmayr recoil pad worked great. Next I am going to pull the barrel back off and drill the receiver for the scope base and get it ready for the Duracoat. Any thoughts on whether I should shoot the iron sights separately or go ahead and loctite the screws and shoot them along with the barrel and receiver? I have to wait for the bolt to come back since I am going to have to mill out the receiver tang a bit for clearance. I am about to go flush it out with hot water since I am not entirely sure if that Cavim ammo is corrosive or not. It is boxer primed but I am going to have to swage the primer pockets since they are heavily crimped.
-
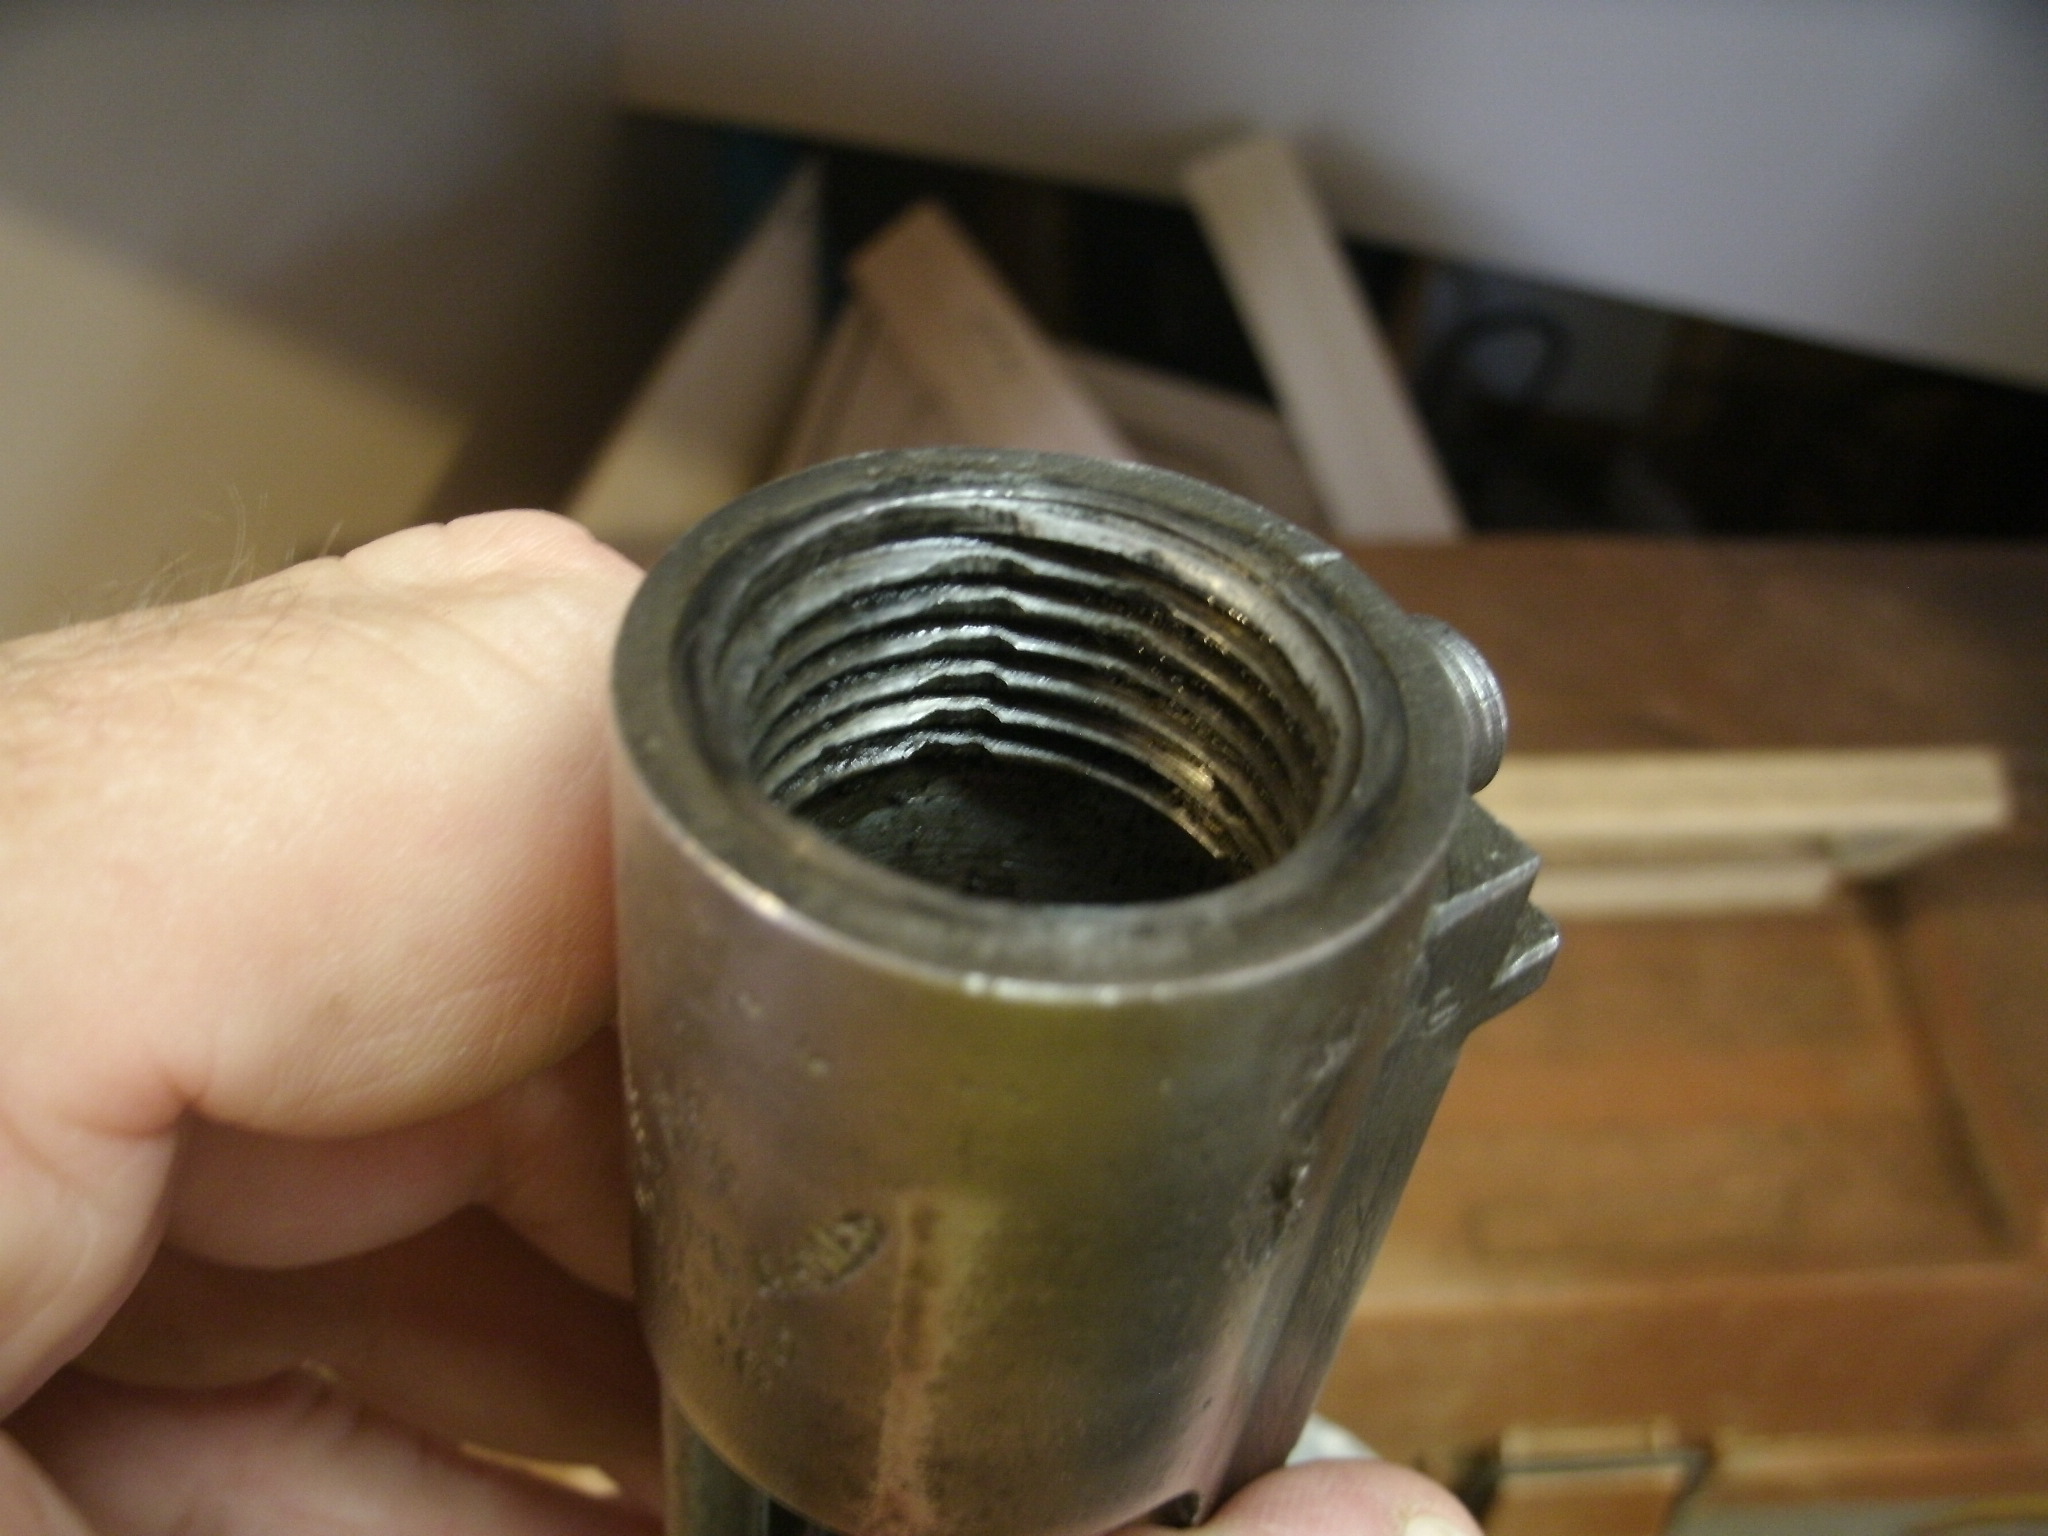
I put the barrel back in yesterday evening. After I cleaned up the threads and put some grease on the barrel I was able to hand tightened it up to about 10:30 or 11:00 and then it was no problem to tighten it down to the witness marks. After I try out the barrel this weekend with the irons sights I will take it back off and then drill & tap the receiver.
-
Wow, thanks. That's way less threads than I have. I am going to have to put it back together before I have a chance to drill the receiver. The scout trip was rescheduled to this weekend because of Easter and I didn't find out about it until yesterday. Now instead of all next week while I am on vacation to get ready I have only tonight and tomorrow evening to get everything ready. Now I am probably going to drive down on Saturday morning instead of Friday evening. I really want to try out that barrel this weekend. How is white lithium grease for the threads when I put the barrel back in?
-
We have our troop shooting trip coming up the 6,7,&8th of April so I will have a chance to try it out. I am real happy with how the butt pad came out. I am going to fill the cleaning rod hole in the front of the forend with a small dowel then drill it to mount the front sling swivel. Next I have to work out some mild loads that will still drop a deer or pig. I had to look up broaching.
-
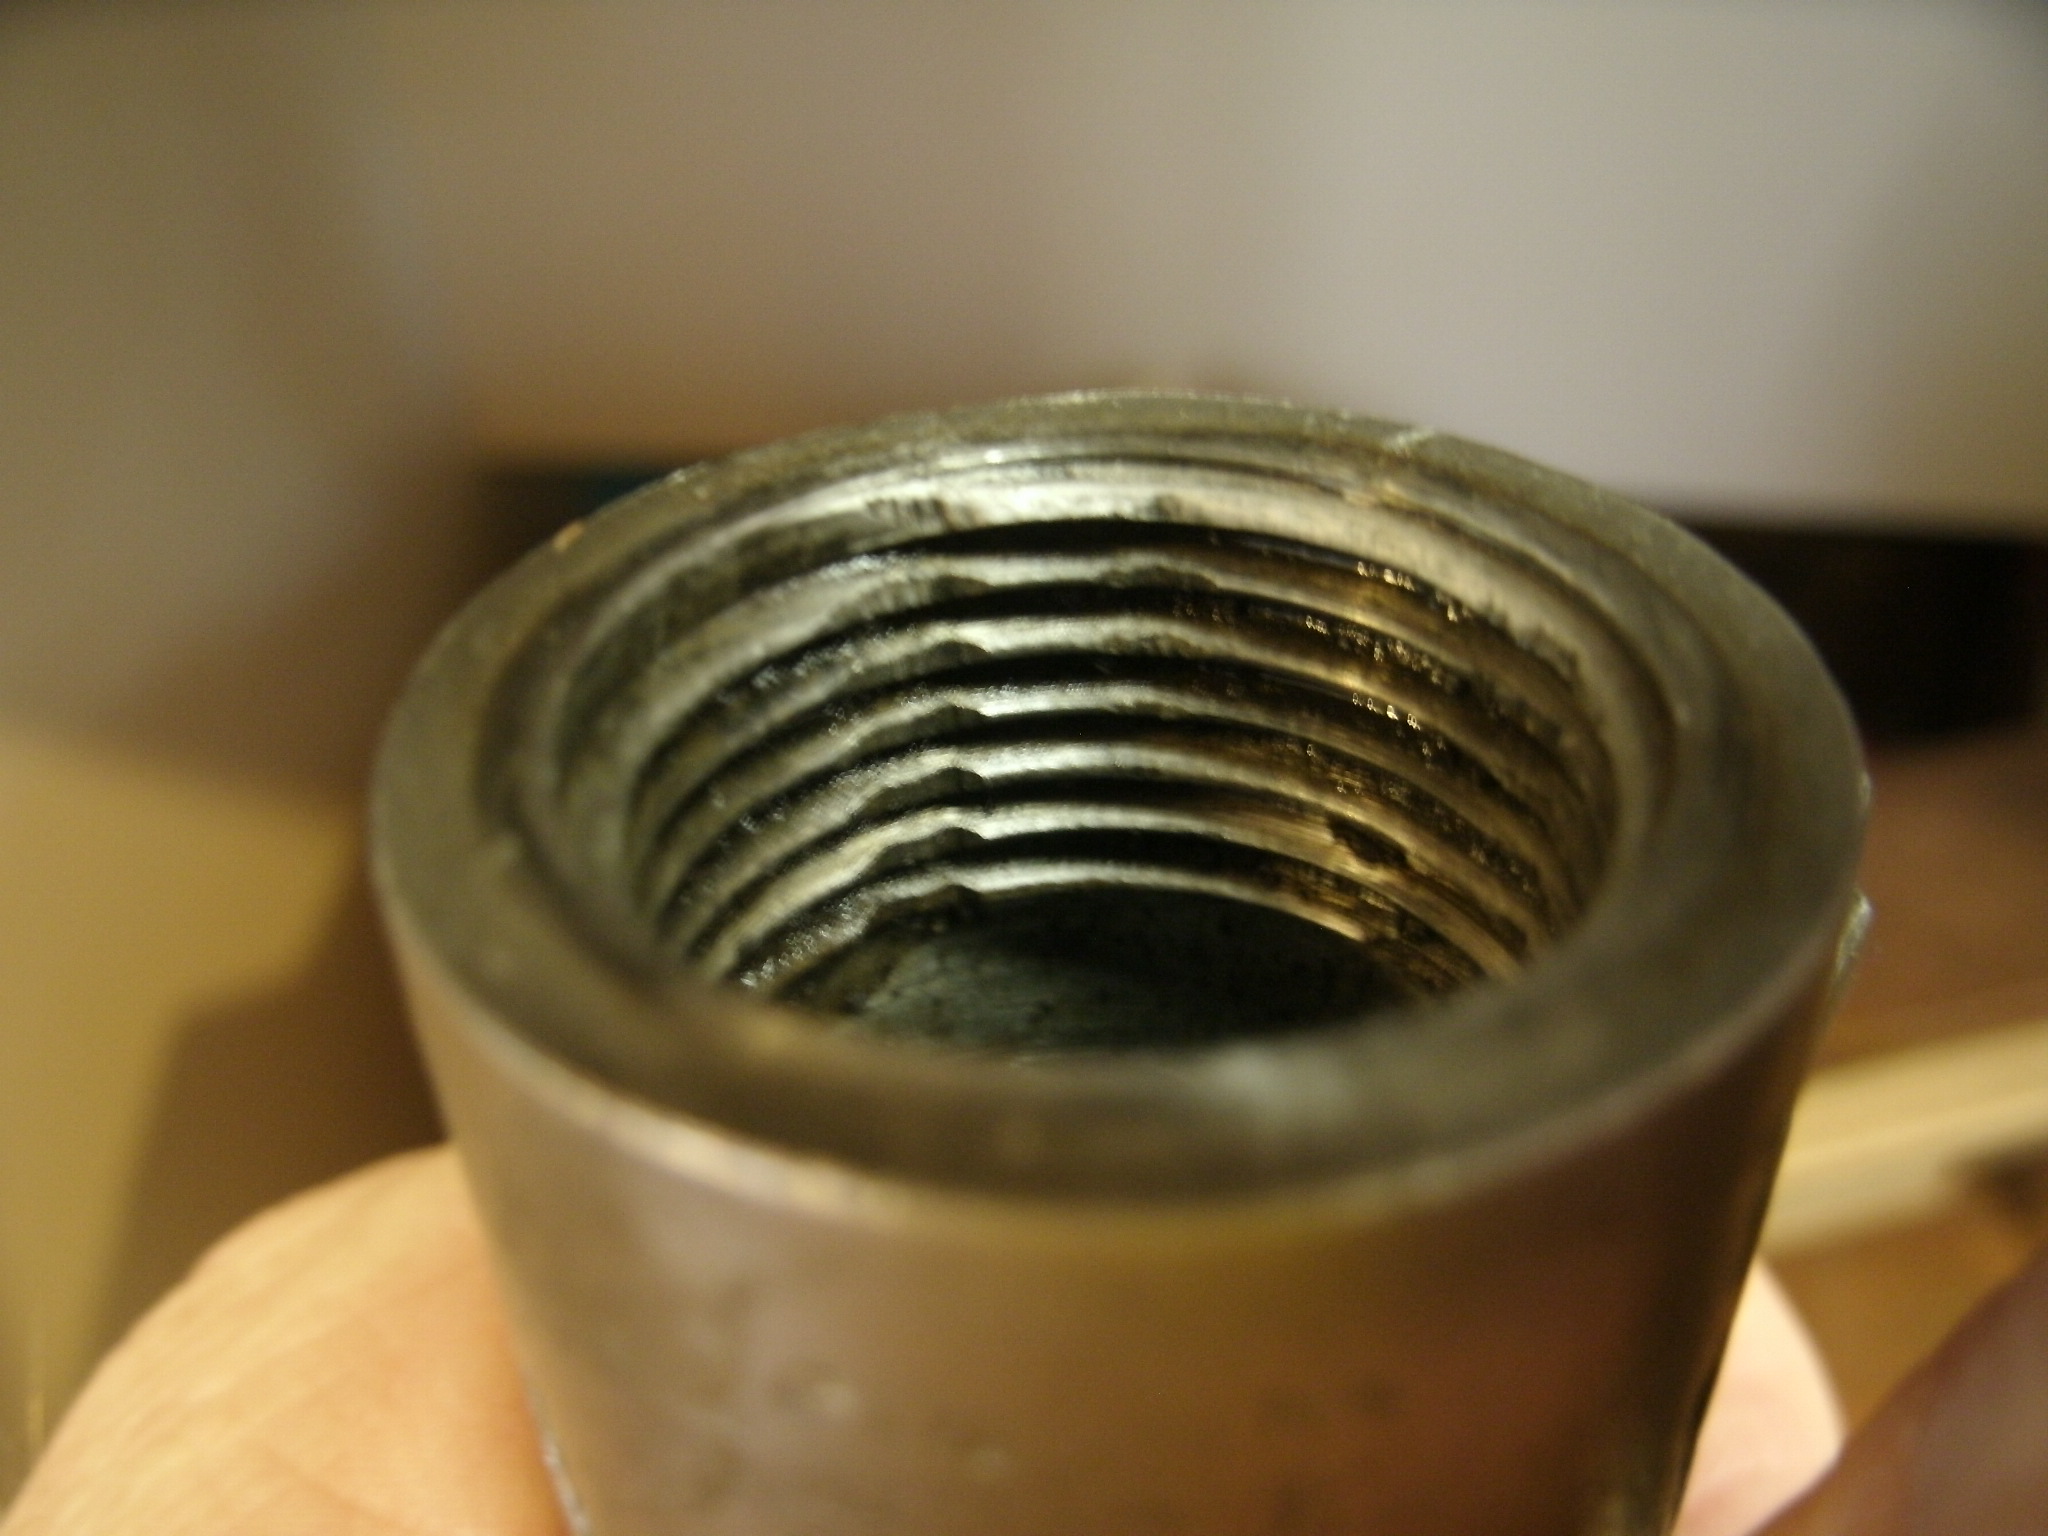
There is a lot more thread than it looks like in the pictures.
-
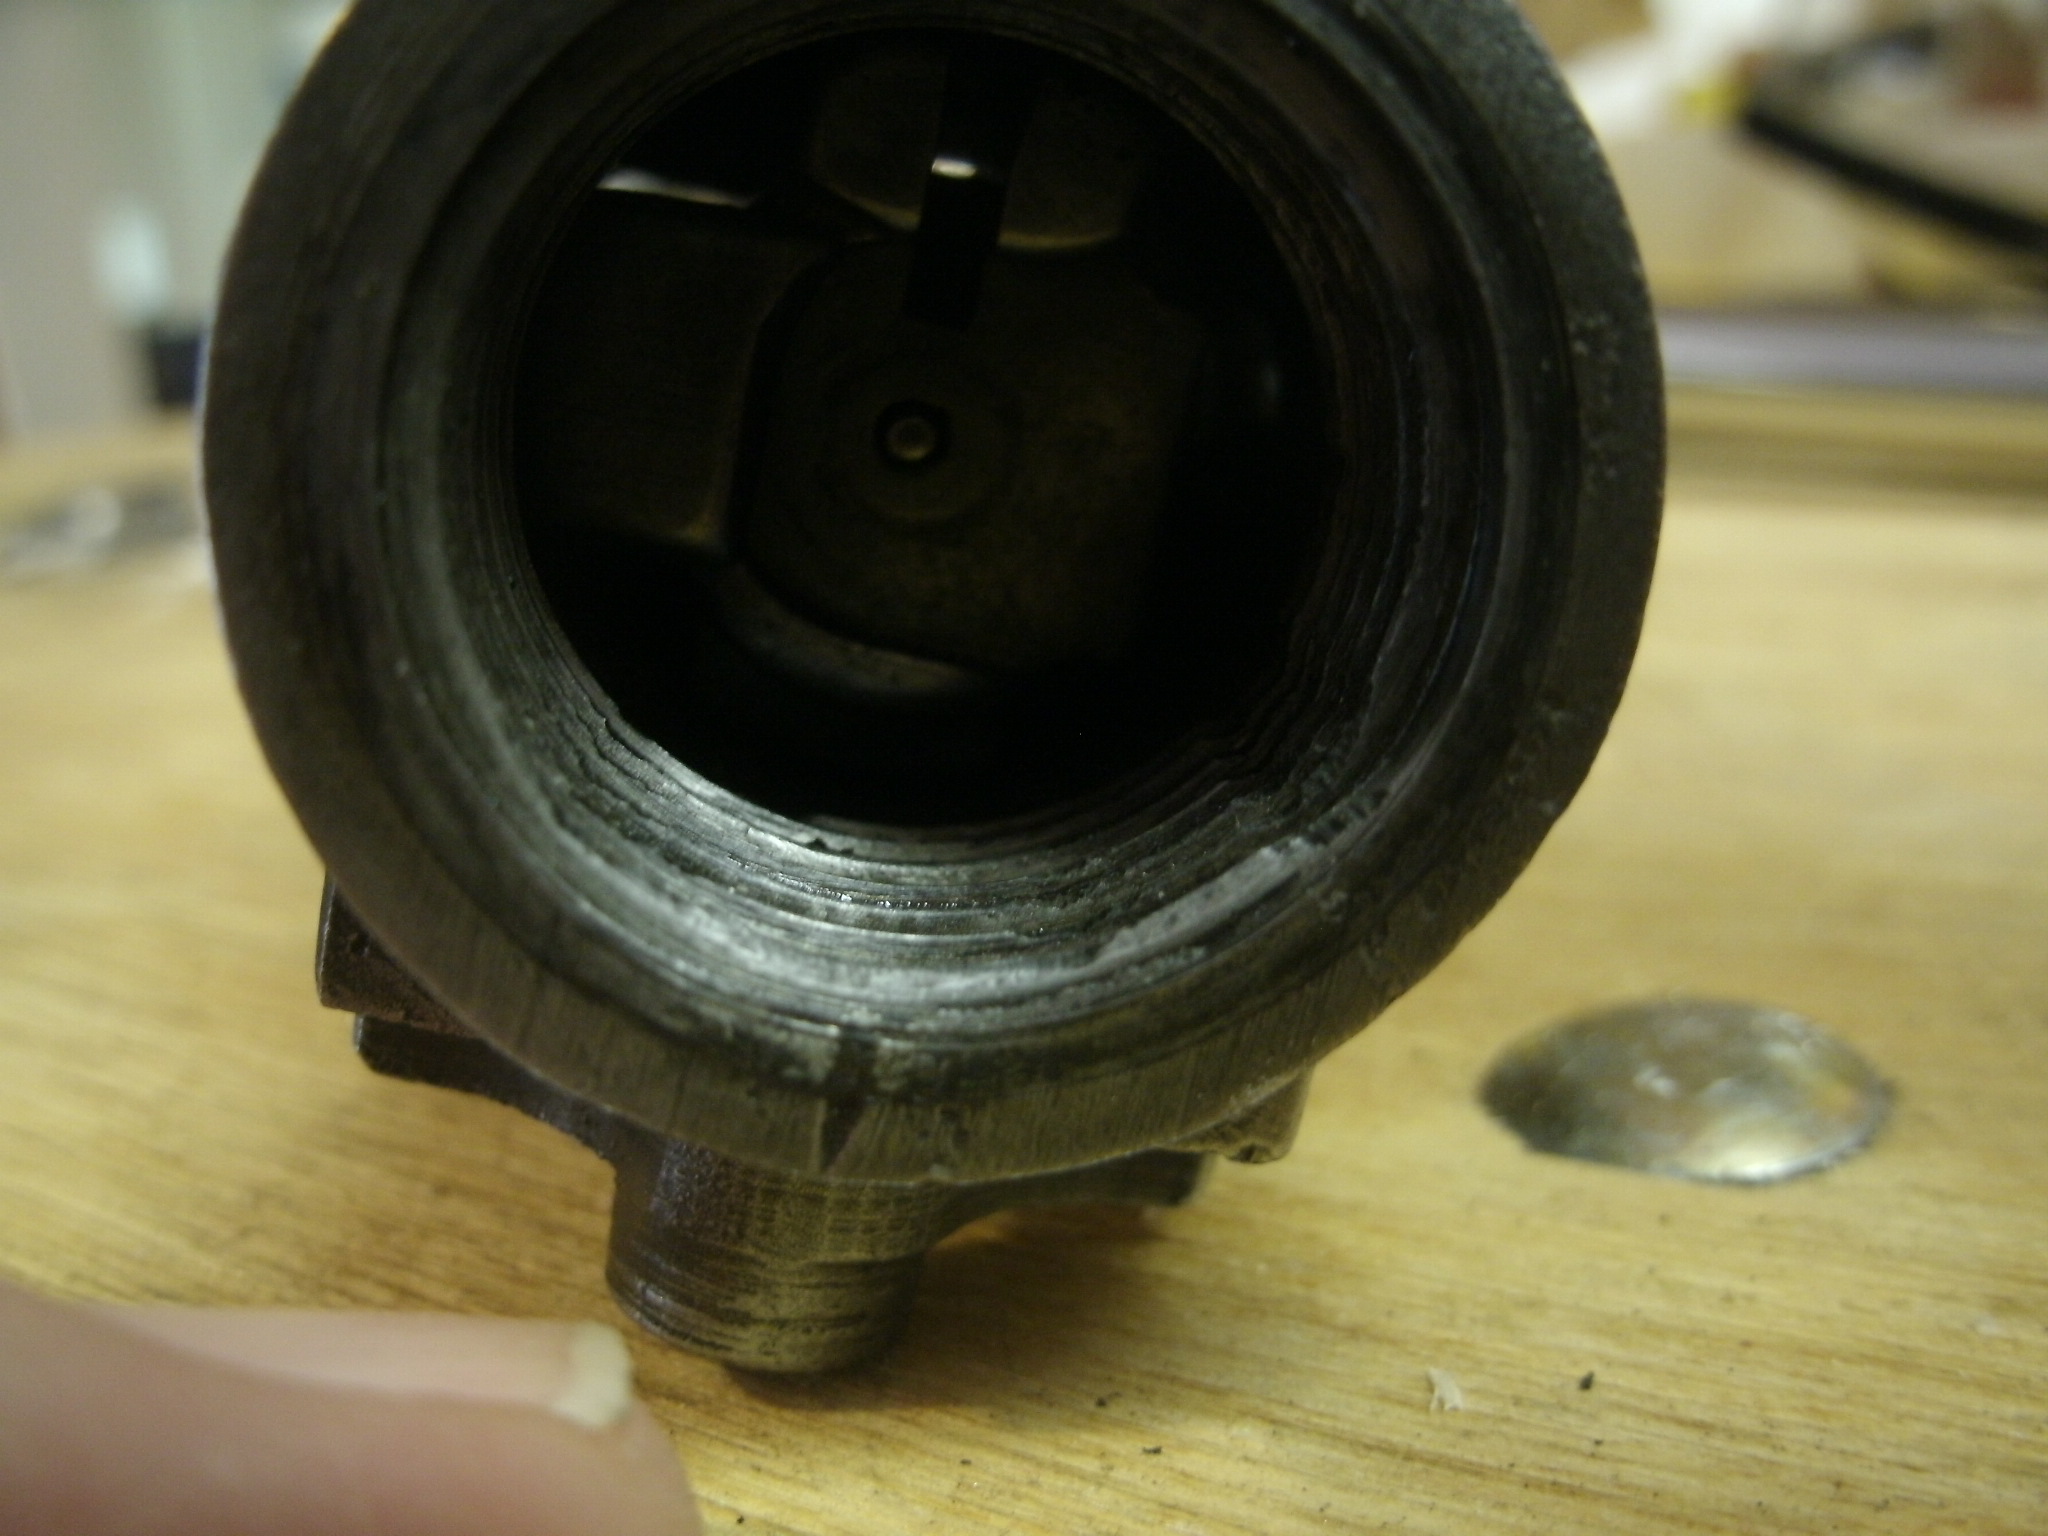
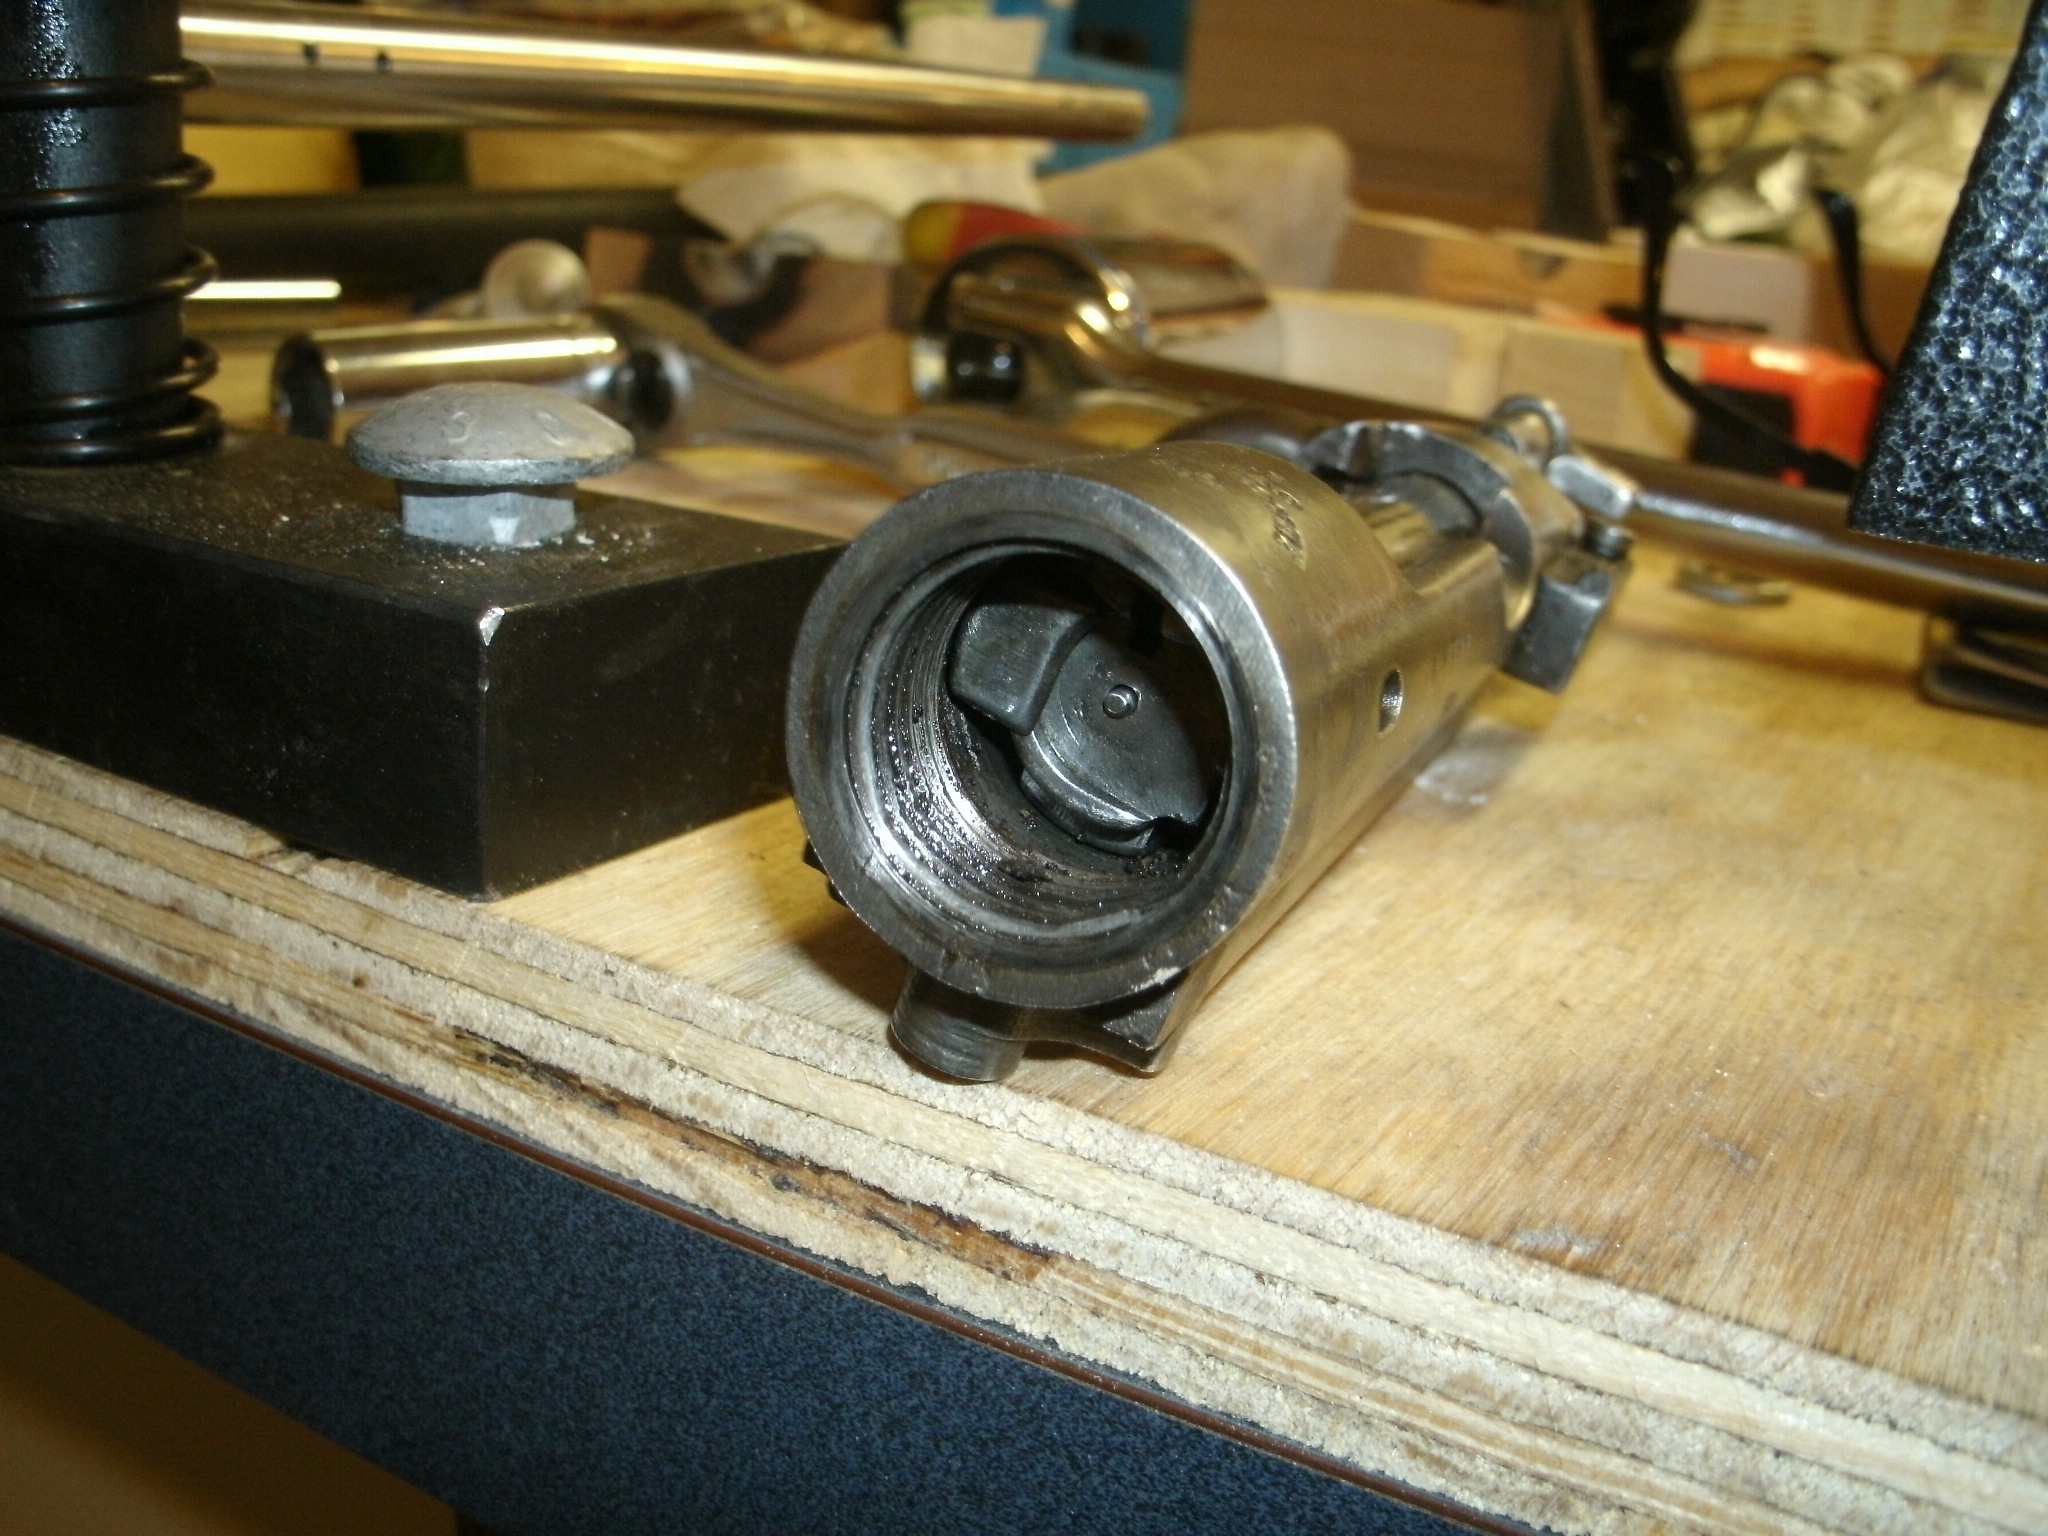
It seems to be lined up with the bolt guide that goes down the left side of the receiver. The barrel threads show no sign of anything out of the ordinary. The barrel threads in smoothly to what looks like about 1/4 to 1/2 turn from the face of the receiver then gets too tight to turn by hand. I haven't really cleaned the threads on either yet. There is just a bit of motion between the barrel and receiver that goes away about 4 turns in. I have put probably 120 rounds of Venezuelan surplus ammo through this rifle.
-
1926 vintage Oviedo M1916 short rifle. Barrel is numbered to the receiver. The barrel will hand tighten back in no problem.
-
Thanks for the concern, I'm as careful as I can be. Been on them for a number of years.
-
The threads on the barrel look completely normal.


-
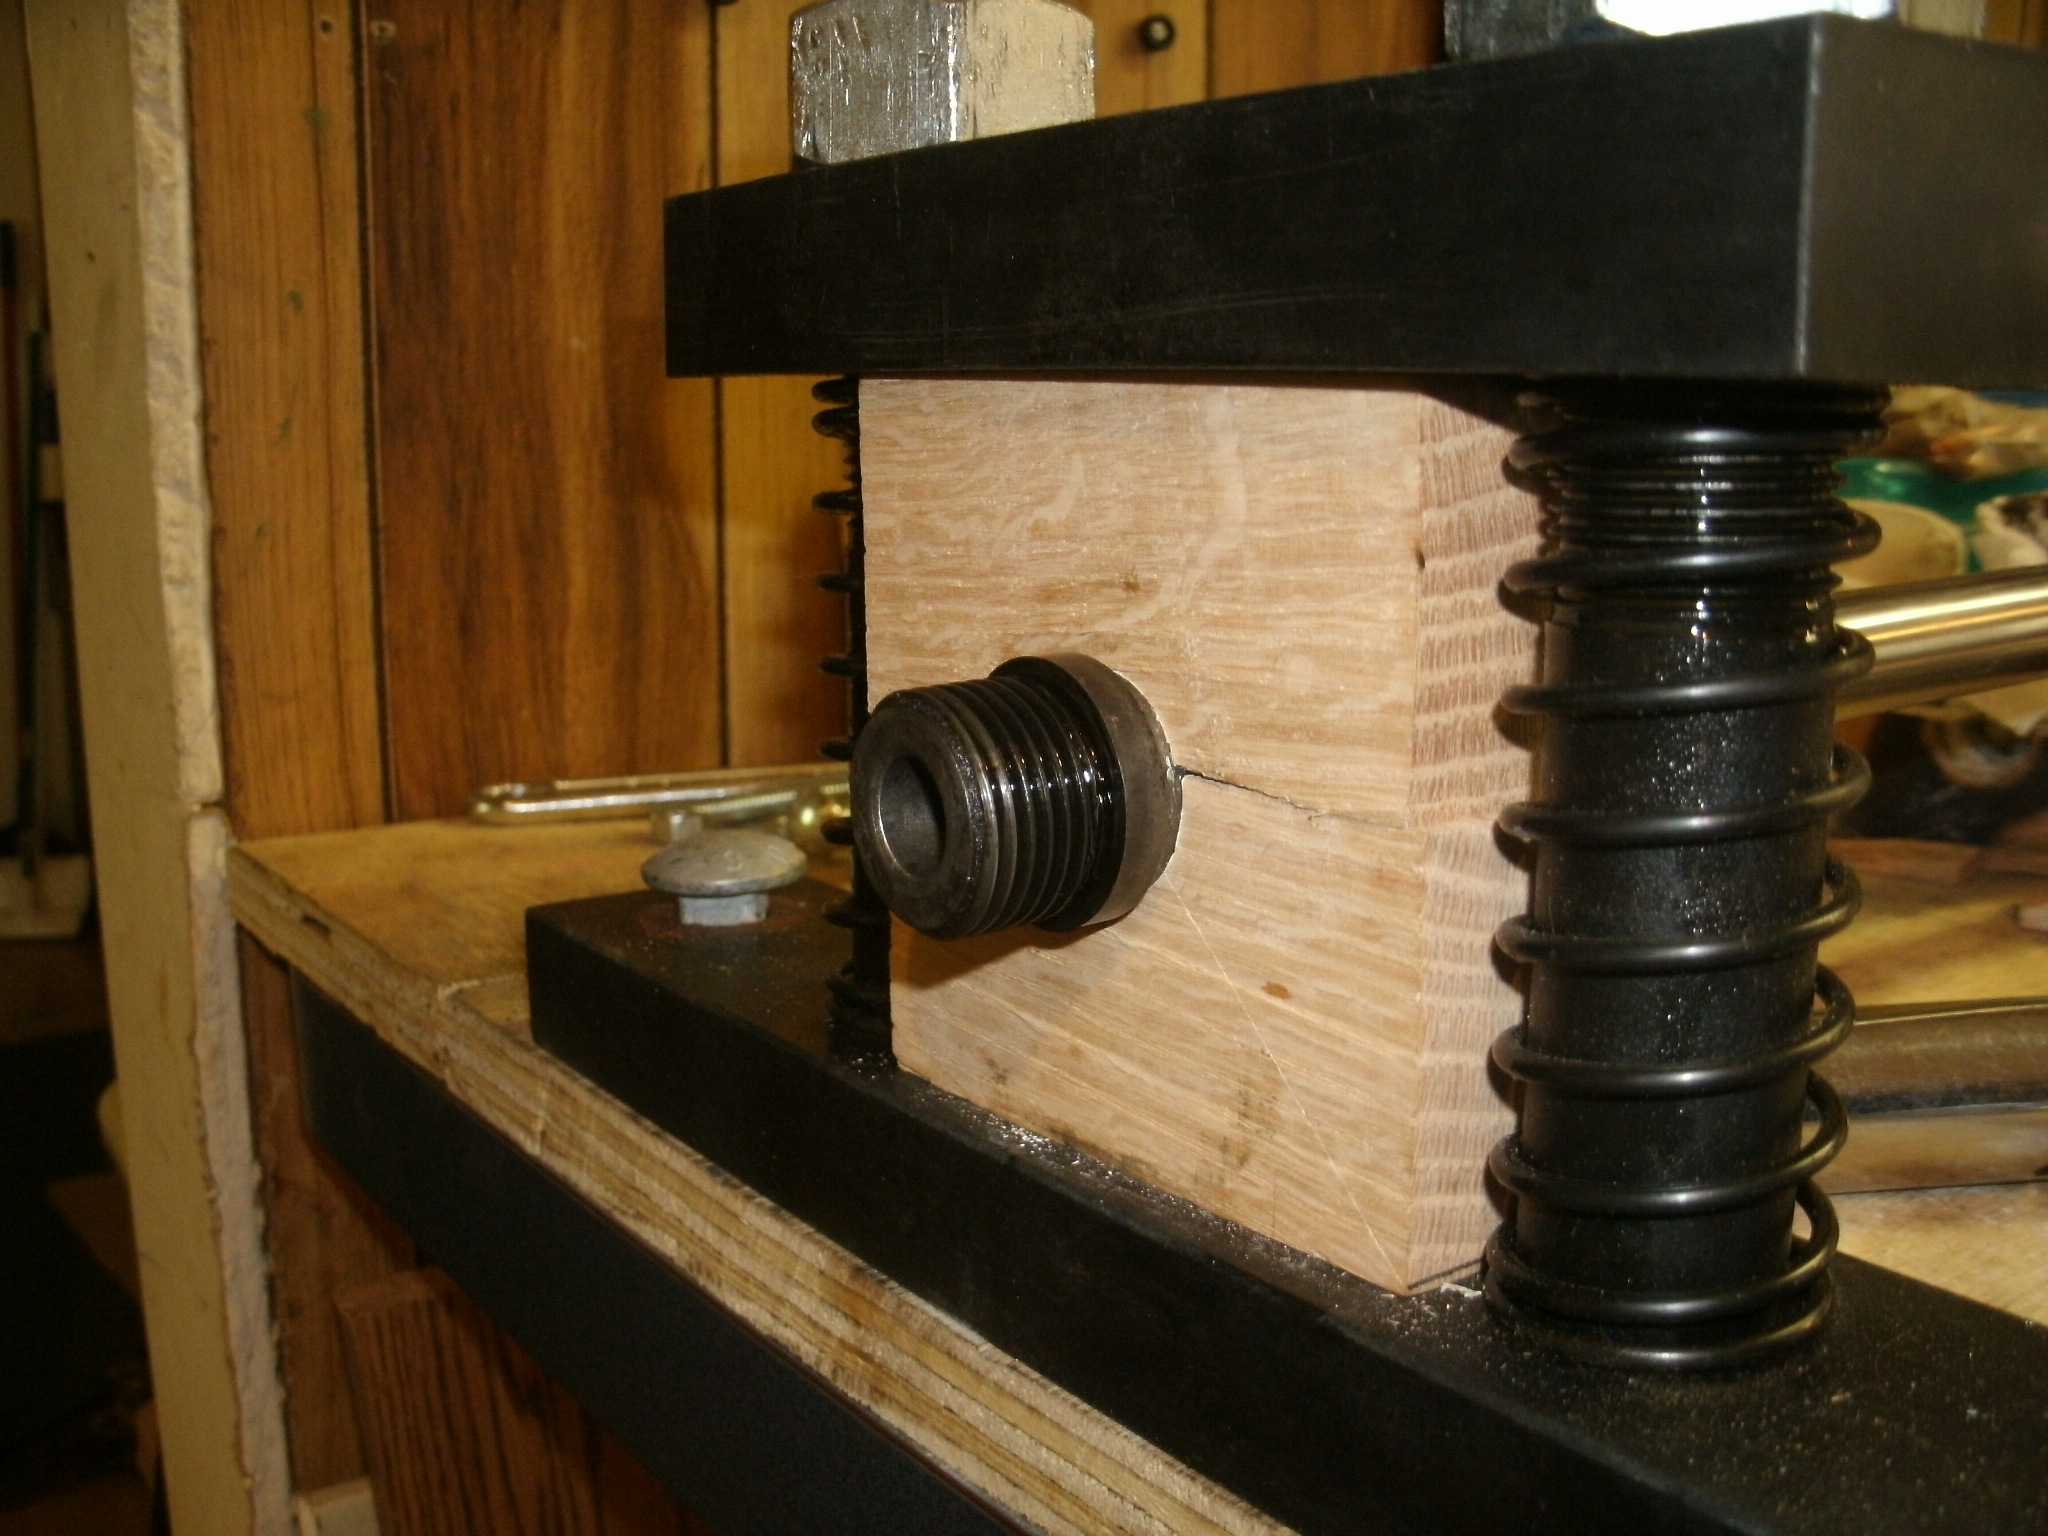
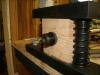
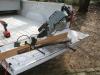
IT's off! The wood blocks seem to work if you have the right blocks. The ones that came with the vice had grain running at an angle when you looked at the end so they split when I tried to torque them down. I went to Lowes and bought some 2x2 oak and poplar stock with the grain as close to horizontal as I could find then I cut them into 3" pieces and clamped two pieces face to face in my drill press vice and drilled a 15/16" hole in them then sanded the face of each block until I had a good 1/8" gap when I first put them around the barrel in the vice. I put some rosin on each block and torqued it down. I also picked up a 3' section of 1" ID thick wall pipe. It slipped just a bit the first time i tried so I cranked it the vice nuts down another half turn and then basically sat on the cheater bar and it popped. This was made all the more fun by basically having to do everything left handed. I even had to drill the blocks on the floor because I couldn't lift the drill press onto the bench without help. I also took pacrat's advice and let the liquid wrench soak in for a couple of days. The threads were visibly wet with oil once it came apart. Now that I am done with the power tools it's time for a refreshing Percocet break.

-
I have 3 of them, all 7x57. The problem I am having is keeping the barrel from turning in the vice. I have heard of people wrapping solder around the barrel as a shim then putting rosin on the whole works. I might try that but I have to wait until one of my boys shows up. I am still thinking that the aluminum blocks are the answer but the oak blocks worked for the other 2.
-
Last Turk I bought was $7 a bando Bet he wasn't selling much.
-
I am fairly limited in what I can do until my shoulder heals completely following rotator cuff surgery so I put my son who is on leave from the Army to work taking several barreled receivers apart. A large ring Spanish and the 98-22 came off with no trouble but the little 1916 that I have been working on would not budge. I don't necessarily need to remove that barrel but I thought it would make it easier to drill and tap for the scope base. I have a piece of 2x2 aluminum bar stock that I am going to cut into 3" pieces then clamp them in the drill press vice with a 1/8" spacer between them and the drill them to use as vice blocks. I need more workbench space. It is sort of a pain having 3 tools that mount to the same spot on the bench.
-
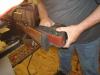
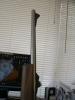
Since I don't have a grinding jig or a 10" disk sander and being that the stock is unfinished I decided to grind the pad on the stock. I used the belt sander down to about the last 1/8" and I am finishing it with a sanding block. At first I thought that I had a major mess when the black dust started going all over the place but it doesn't seem to stick to anything and is heavy enough to fall to the floor and not drift around. It is easy to clean up with the shop vac. I was also surprised that the belt doesn't seem to wear any while grinding these.
-
His other grandpa who lives in the same town that he does is going to take him on his first hunt this fall.
-
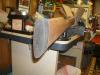
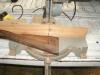
Trimmed off the butt just ahead of where the old side mounted sling swivel was. Now I'll add 1 1/4" of recoil pad and the LOP should be just about right for my Grandson.
-
Nice rifle!! I still haven't picked a color and those tiny swatches on their web site are just about useless. You sound like my old high school shop teacher, he used to drill into our heads: Think three times, measure twice, and cut once.
-
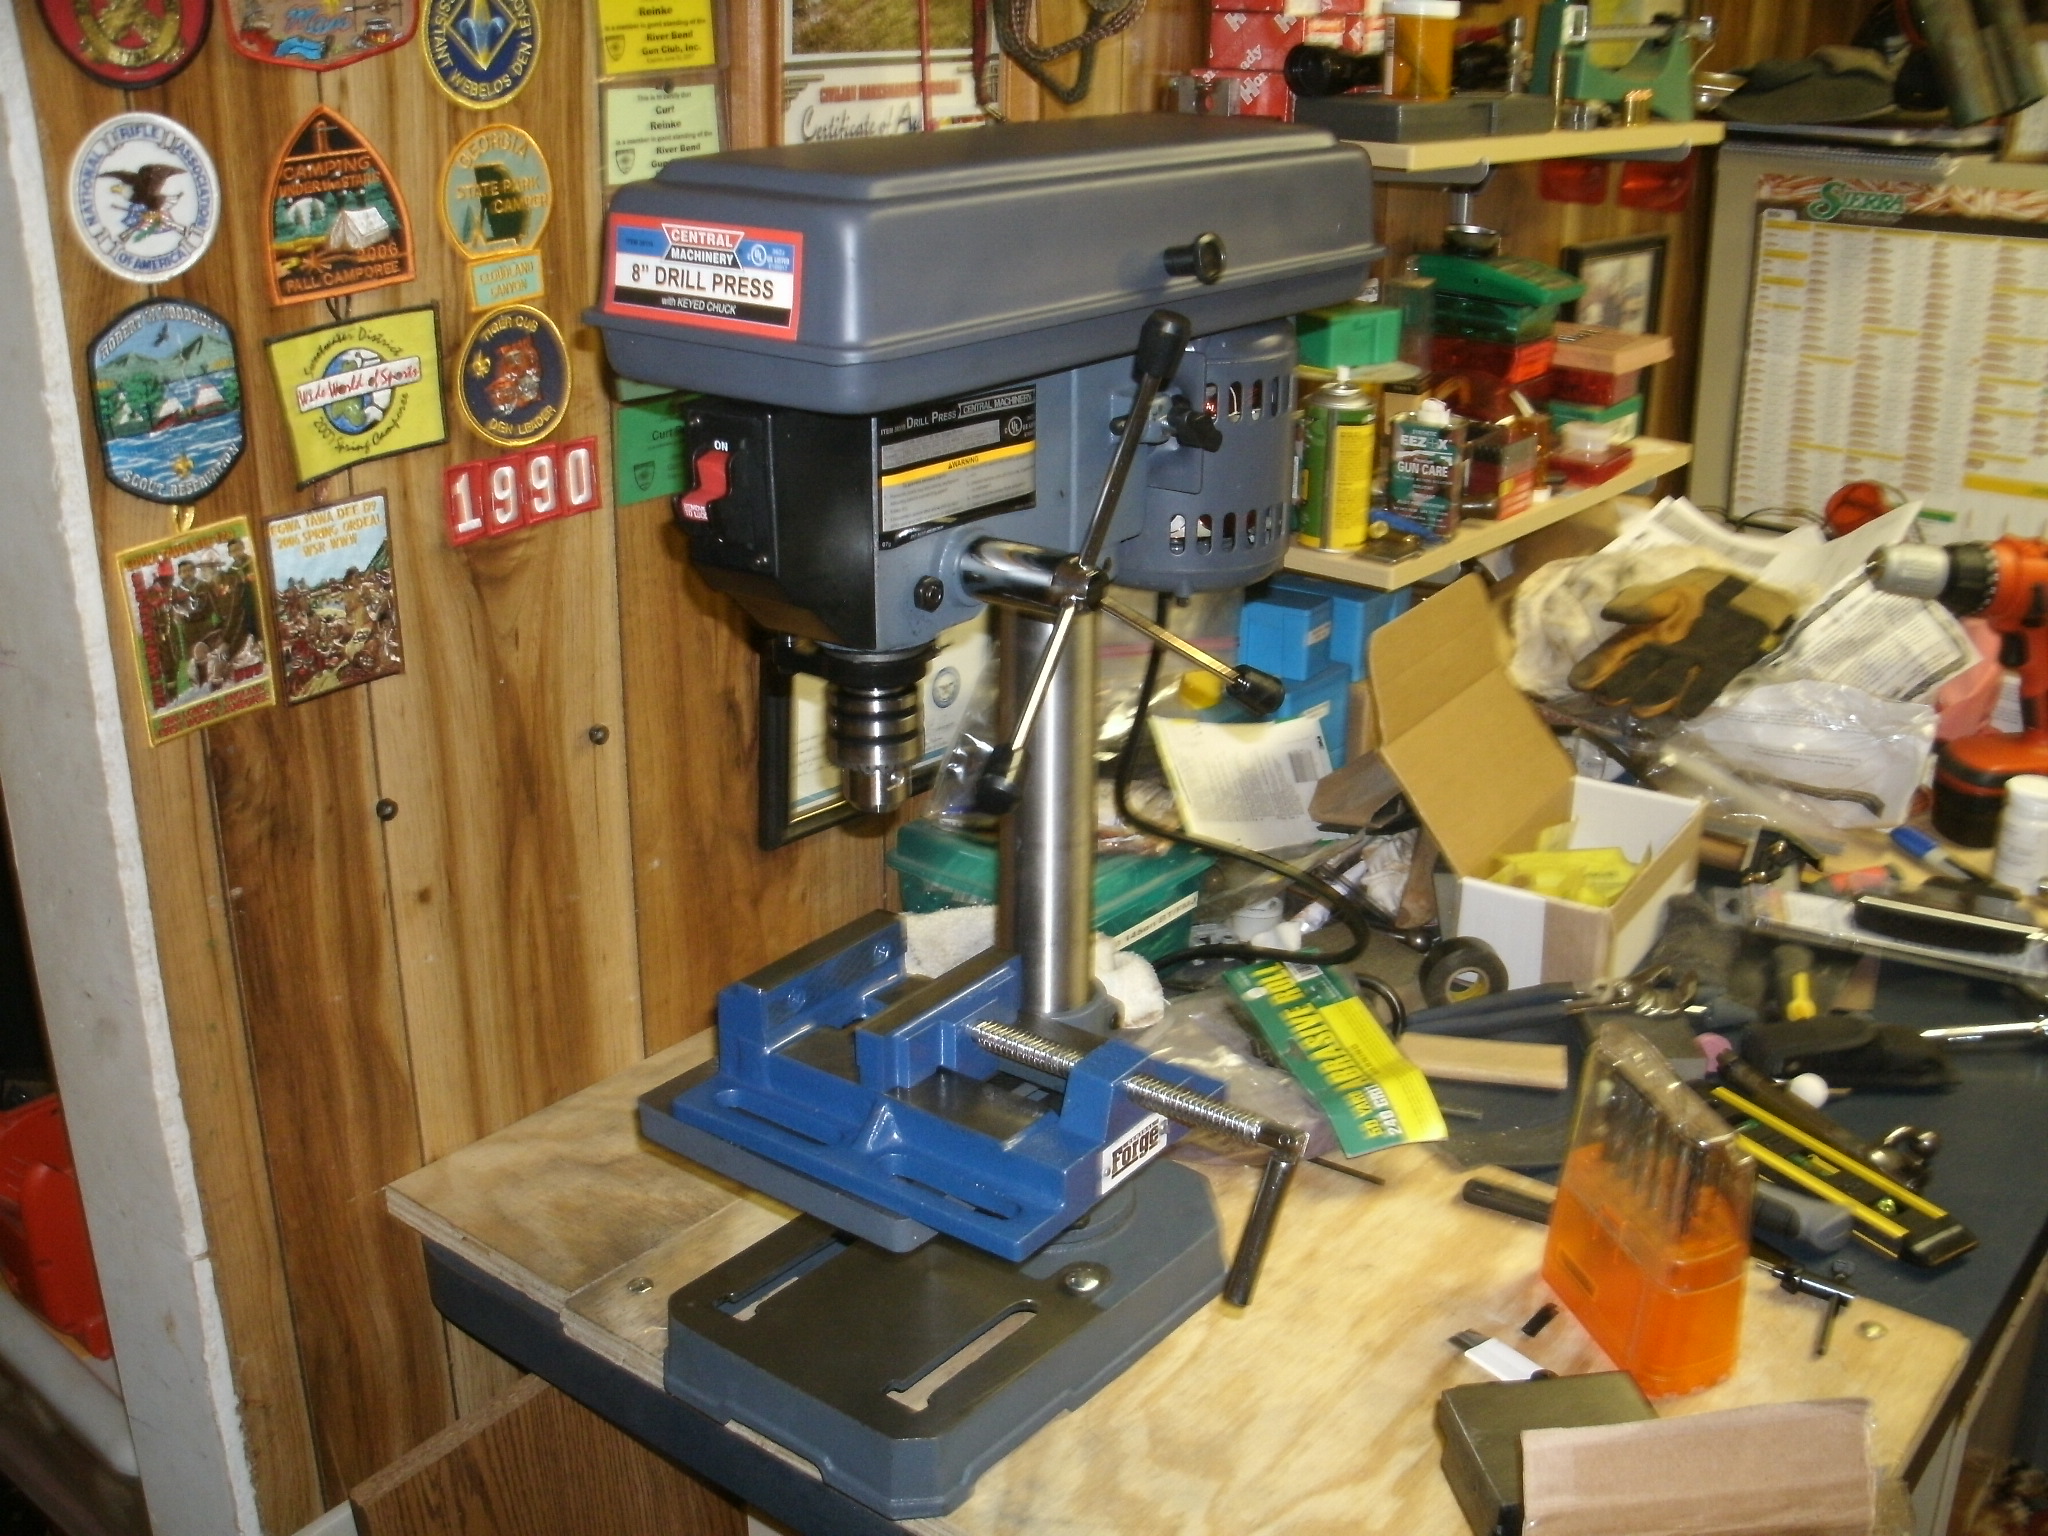
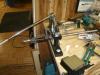
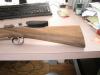
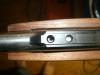
Iron sights!!!!! Mounting the sights wasn't as hard as I thought it would be. It just took time to setup for each hole. I used my new drill press along with a drill press vice and several levels and strait edges. I have a couple of 5/16" carriage bolts with large washers and wingnuts to fasten the vice to the drill press table. The first thing I discovered was that the index hole for the original rear sight base was not centered on the top of the barrel. I also noticed that the Oviedo crest is also not centered. Now I can test fire and find out if the barrel is worth the work I have put into it. I'll mount the scope when the bolt comes back from being bent. In the mean time I have another bolt to use while testing. Next will be the recoil pad but that will have to wait until the 1/4" spacer arrives since I want to grind the pad and the spacer together. I am planning to grind the pad on the stock with a belt sander. The stock is not finished so I will be able to fix up any dings from shaping the pad. I also picked up a set of 1/8" stamps to mark the barrel 7x57 and some JB weld to fill in the remaining pits before I apply the duracoat. I still haven't decided on a color. There is only about 100 to choose from. It's amazing what a difference adding the sights made, it actually looks like a rifle now. A buddy over at FedEx let me weigh it on their scale and it looks like it is going to end up at around 7.5 pounds.
-
I have decided that I need to sell stuff that I just don't use to fund my little projects. I recently sold a CZ-52 for enough to pay for my barrel vice, action wrench, my recent Brownells order of drills, taps and punch's then still had enough left over for this: The drill press is actually a pretty nice piece of equipment and it has a side thrust bearing on the spindle so it may be possible to do a bit of milling with it. Harbor Freight sells a milling vice for them for around $60. The drill press and bench grinder share the same spot. The bench is drilled for both. I am trying to come up with what I will have to sell to be able to afford this + the $600 worth of tooling to go with it. Actually I have been going back a forth between the 10x22 and the 9x19 I am leaning towards the 10x20 primarily because the spindle bore is 1".

-
Has Anyone Seen Or Used One Of These?
CurtInAtl replied to CurtInAtl's topic in Sporterizing Firearms
Thanks!! -
Action wrench
-
I have the hole that was used to index the original rear sight base. If I thread it and mount the rear sight base then level the barrel using the flat on the rear sight I should be able to level the front sight to line it up on the rear sight. Theoretically! Yea, I know, I need to finish polishing the barrel. I finally figured out how to attach pics to to my post without using picturetrail. I was considering putting a cap on the end of the fore arm but making the stock longer with a barrel that's only 16.5" long would probably make the rifle look out of proportion.
-
I have a punch around here somewhere that will work. It's one that my Grandfather made for my dad before I was born. My Grandfather was a tool maker by trade and after he passed away when I was only 8 or 10 I remember seeing his chest in our basement. It was full of tooling and micrometers and a lot of stuff I wish I had now. I hadn't thought about soldering the sights on but that might be the best way for me to go since re soldering is a lot easier than trying to move a hole that ends up in the wrong place. I have been looking at Steve Wagner's method of drilling for a scope mount and it seems like it's worth a try.
-
Iron sights!! My first attempt at drilling and tapping will be on the barrel which I am probably going to change anyway. The Remington sights look and fit like they were made for this rifle. One thing I didn't think about until now is that my scope rings are not see through for the Irons. I can't seem to find any see through rings that will work with the Redfield type 1 piece mount. I am going to make sure of which way I am going to go before I drill the receiver.