Jeremy
-
Posts
93 -
Joined
-
Last visited
Content Type
Profiles
Forums
Events
Everything posted by Jeremy
-
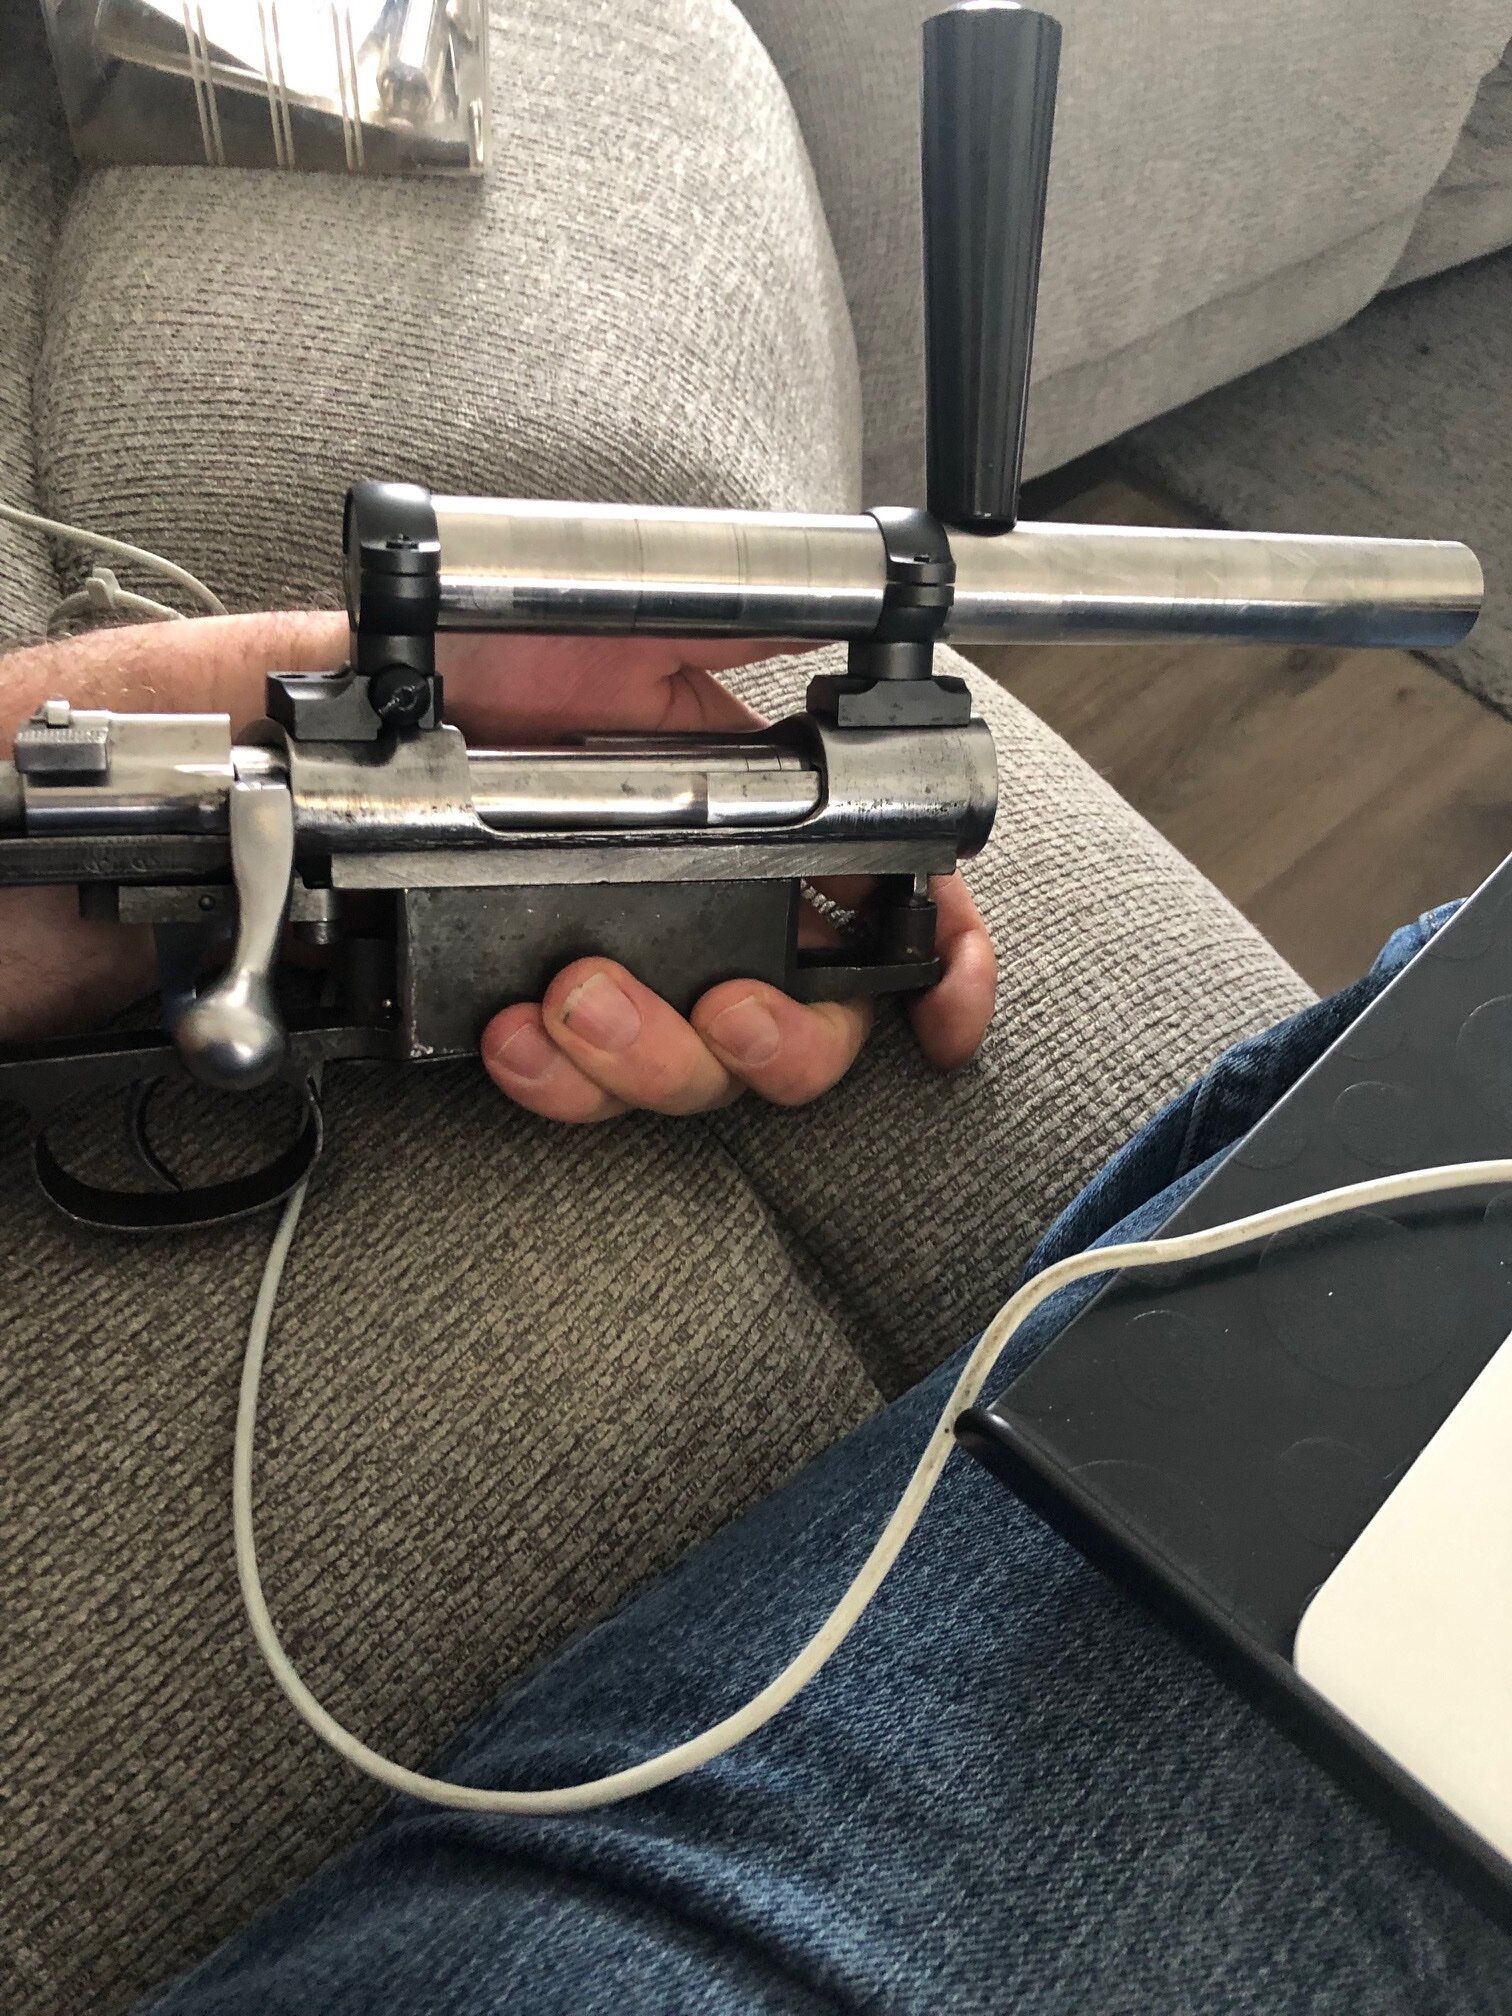
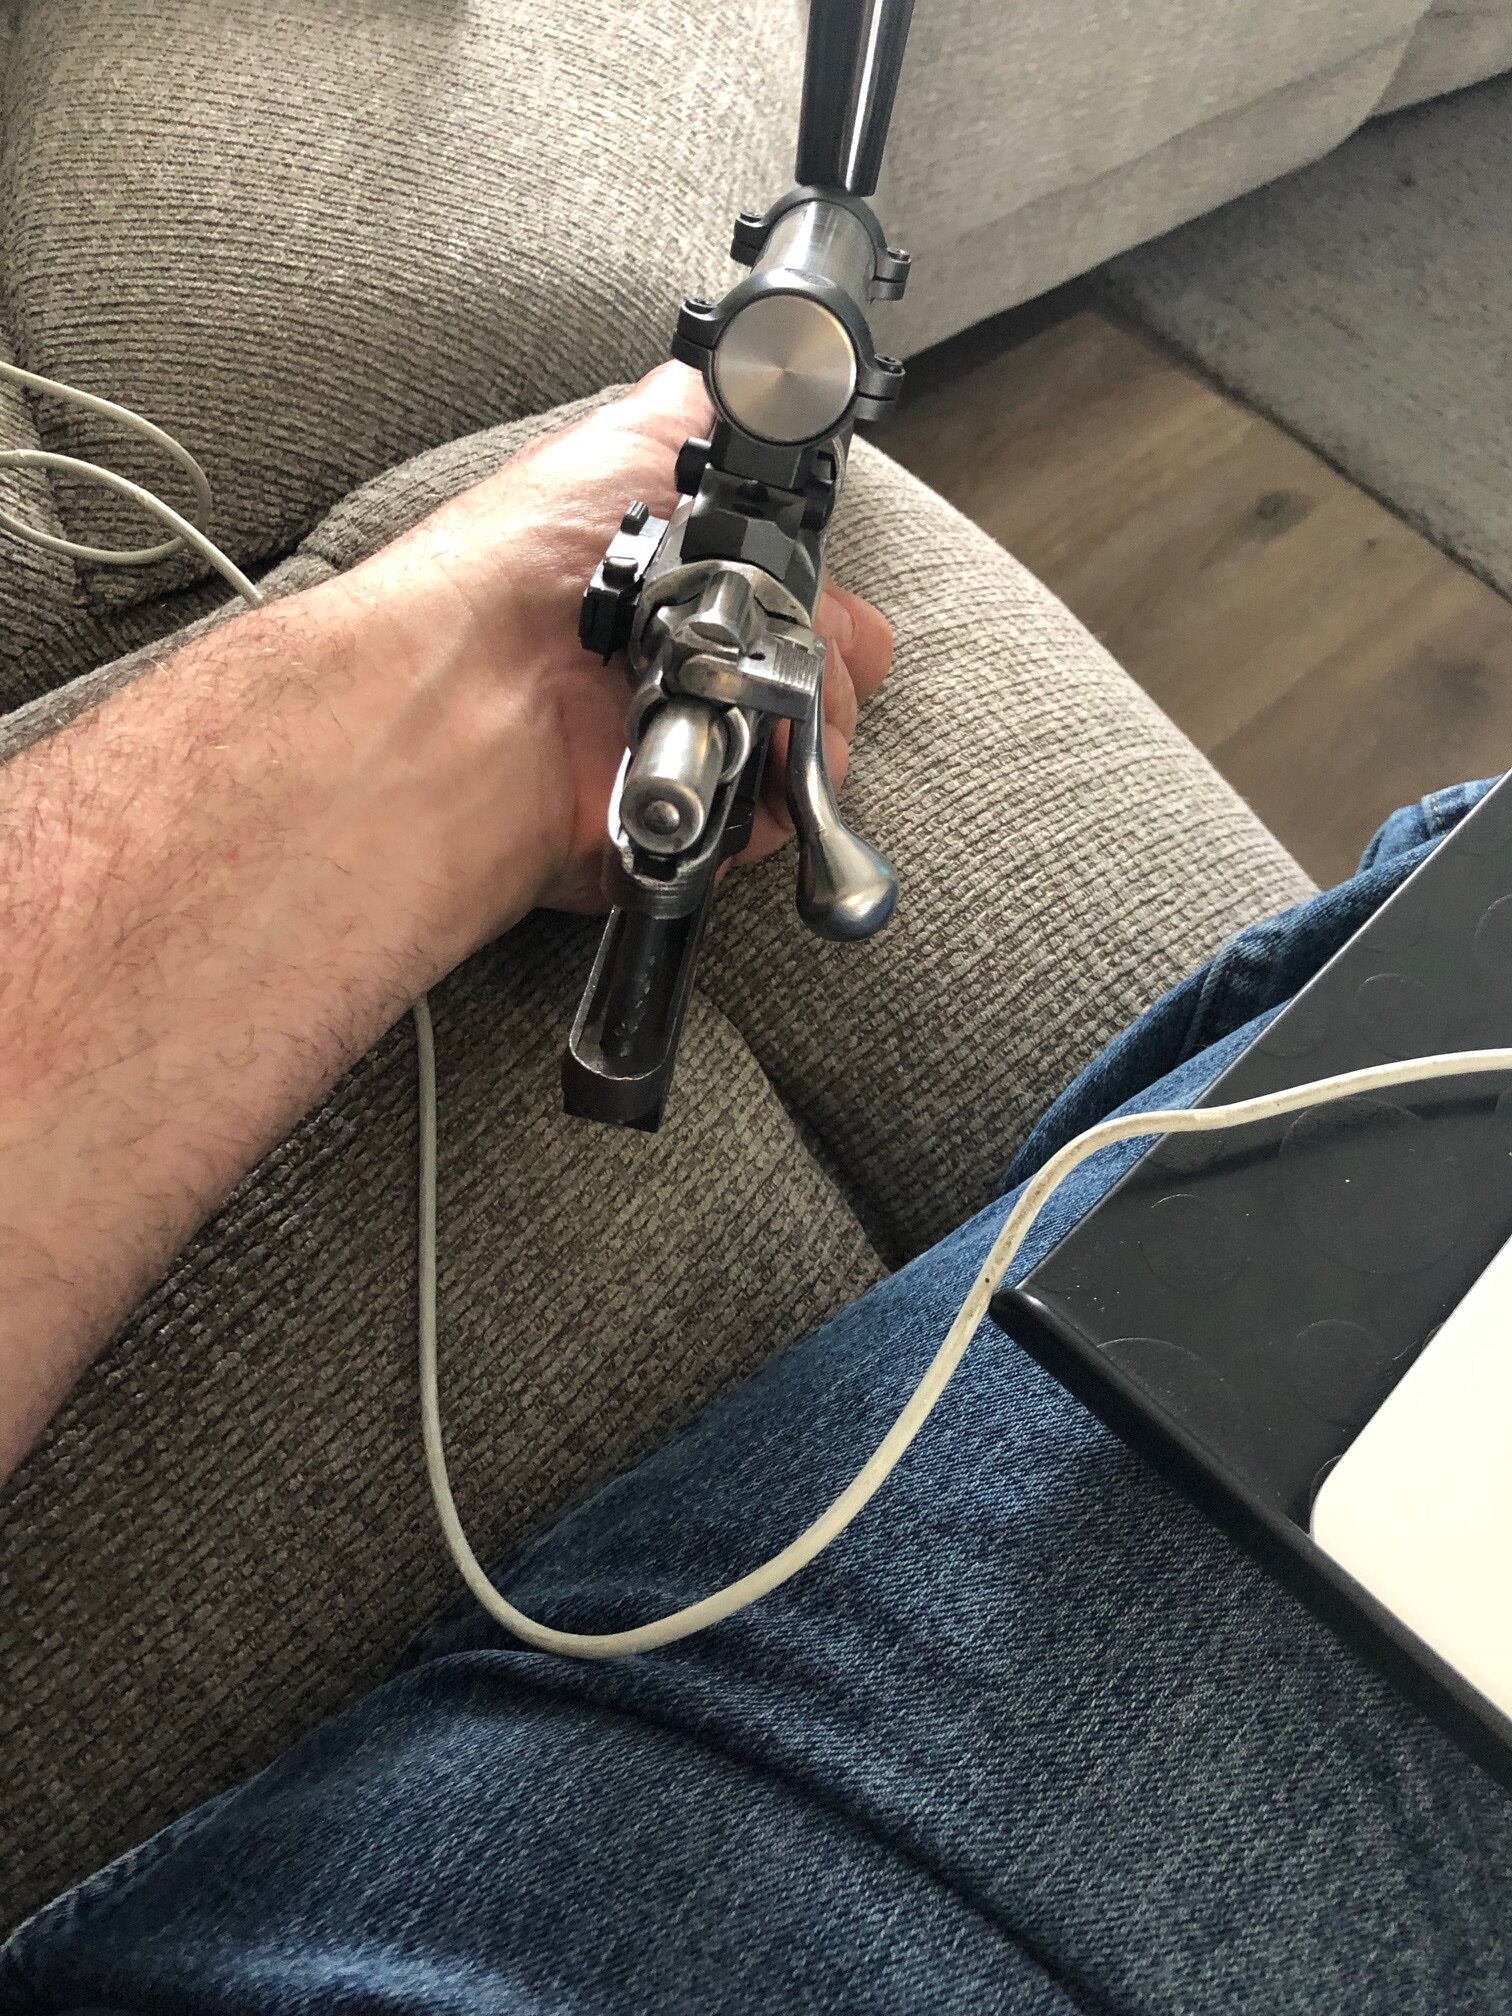
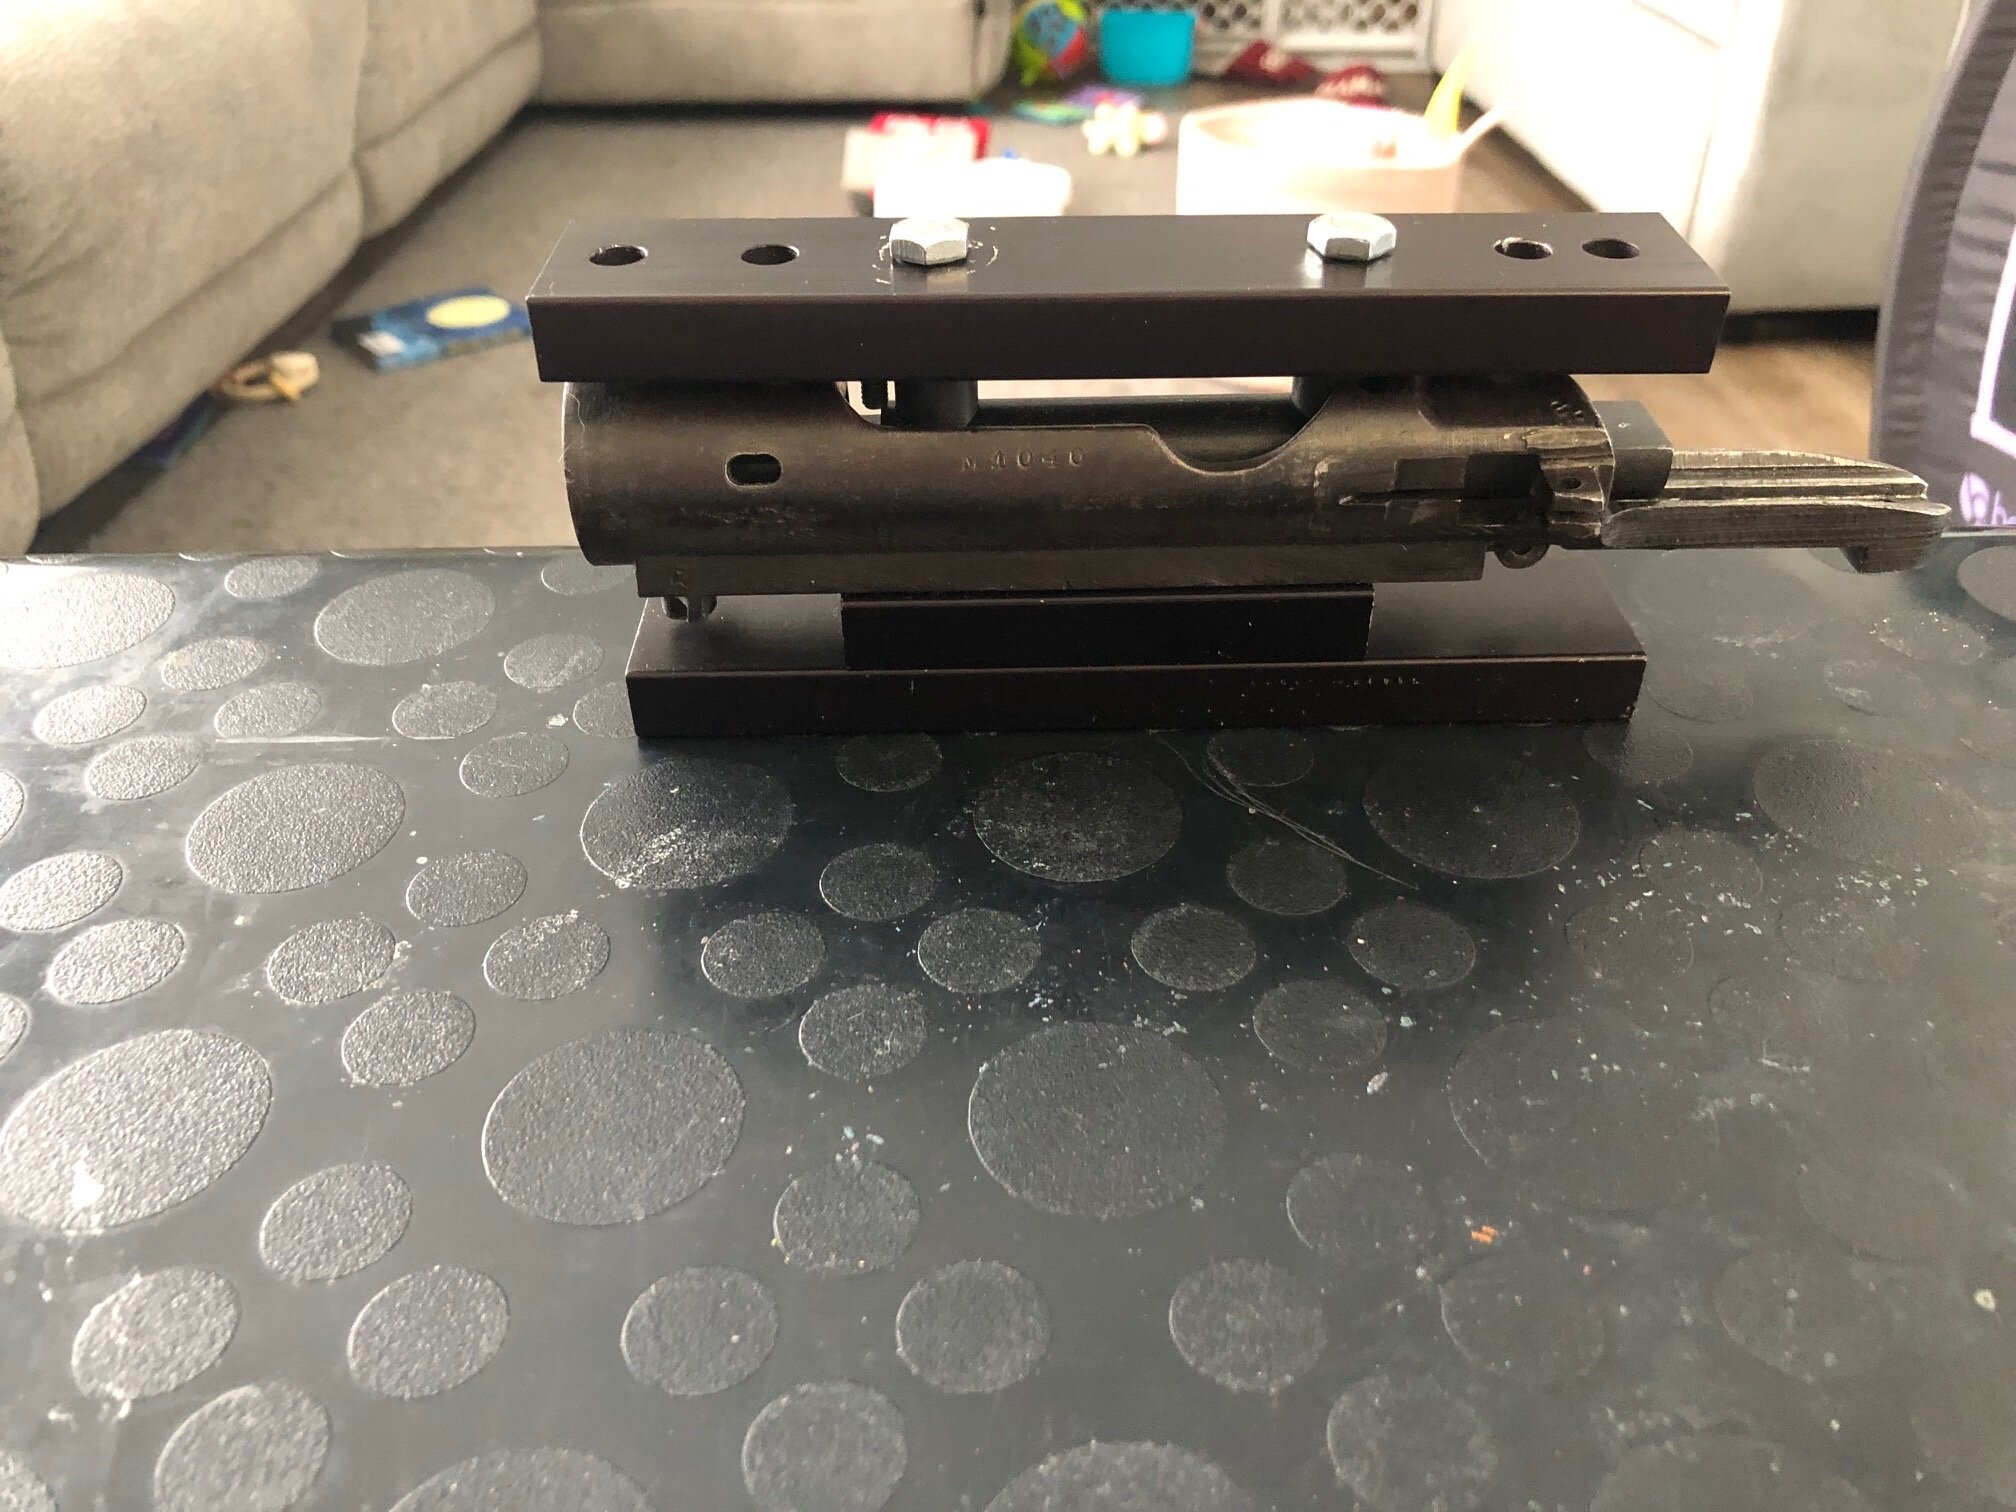
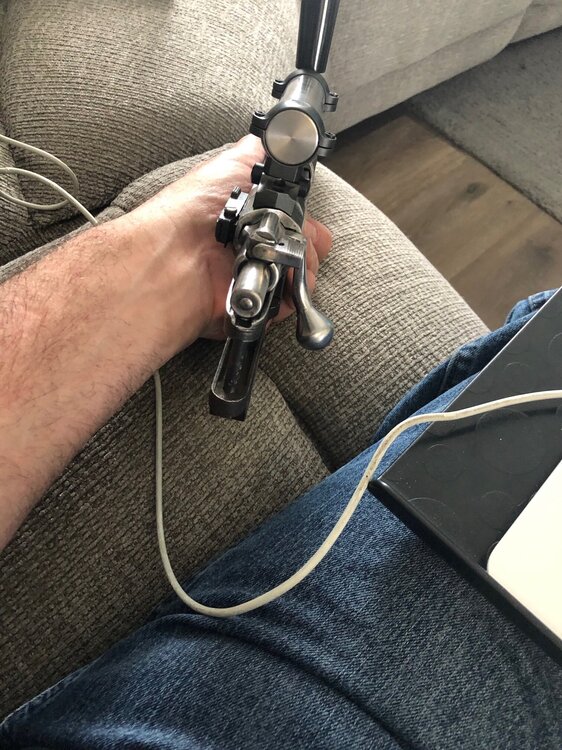
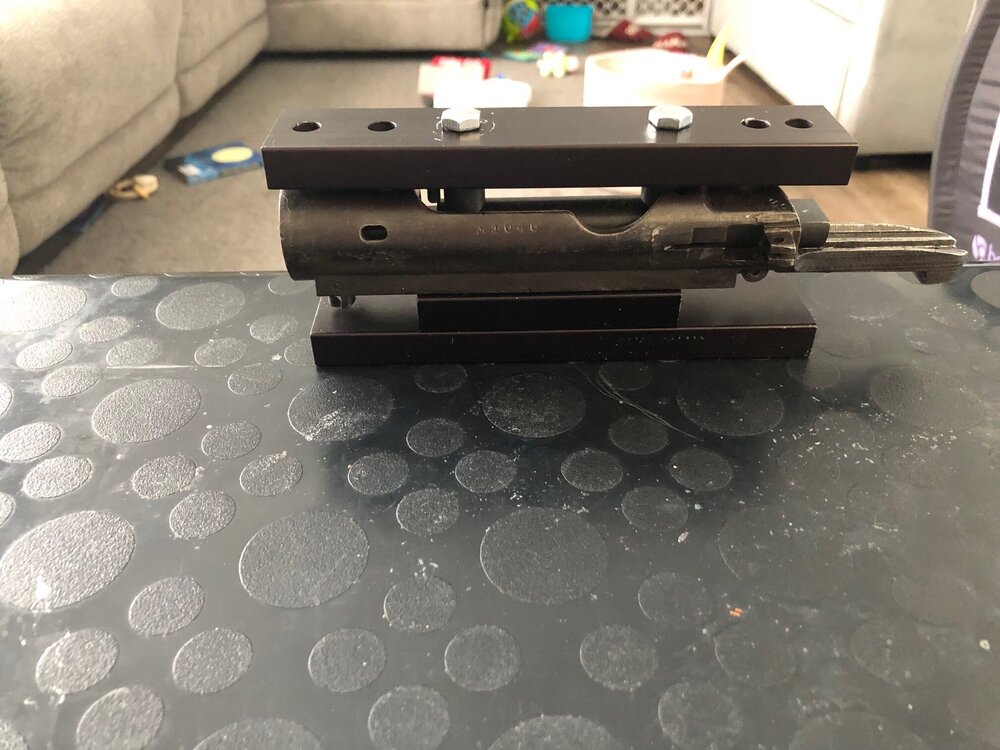
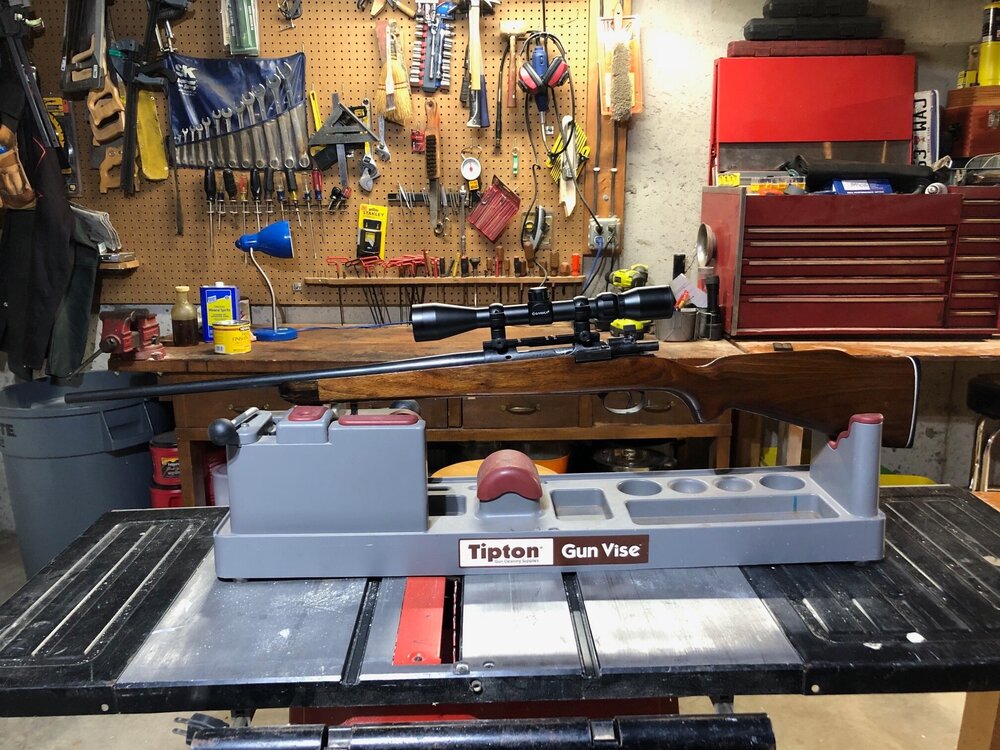
The receiver is now drilled and tapped, the bases are mounted with rings. I checked for trueness with the lapping bar. Yep I did it right the holes are straight well nearly perfect. I can take a sigh of relief. Next is bolt jeweling, installing the Dayton Traiser low profile safety that involves altering the bolt shroud. Then it will be time to blue all the metal and install the barrel then marry it to the stock after the finish inletting.

-
That is a nice job. When I get the opportunity to buy myself a welding machine. I'll try my hand at welding a bolt handle on a bolt body and make myself the jig to do it. I have the material and means to make the jig. But too many other projects going on right now. So that will have to wait. Jeremy
-
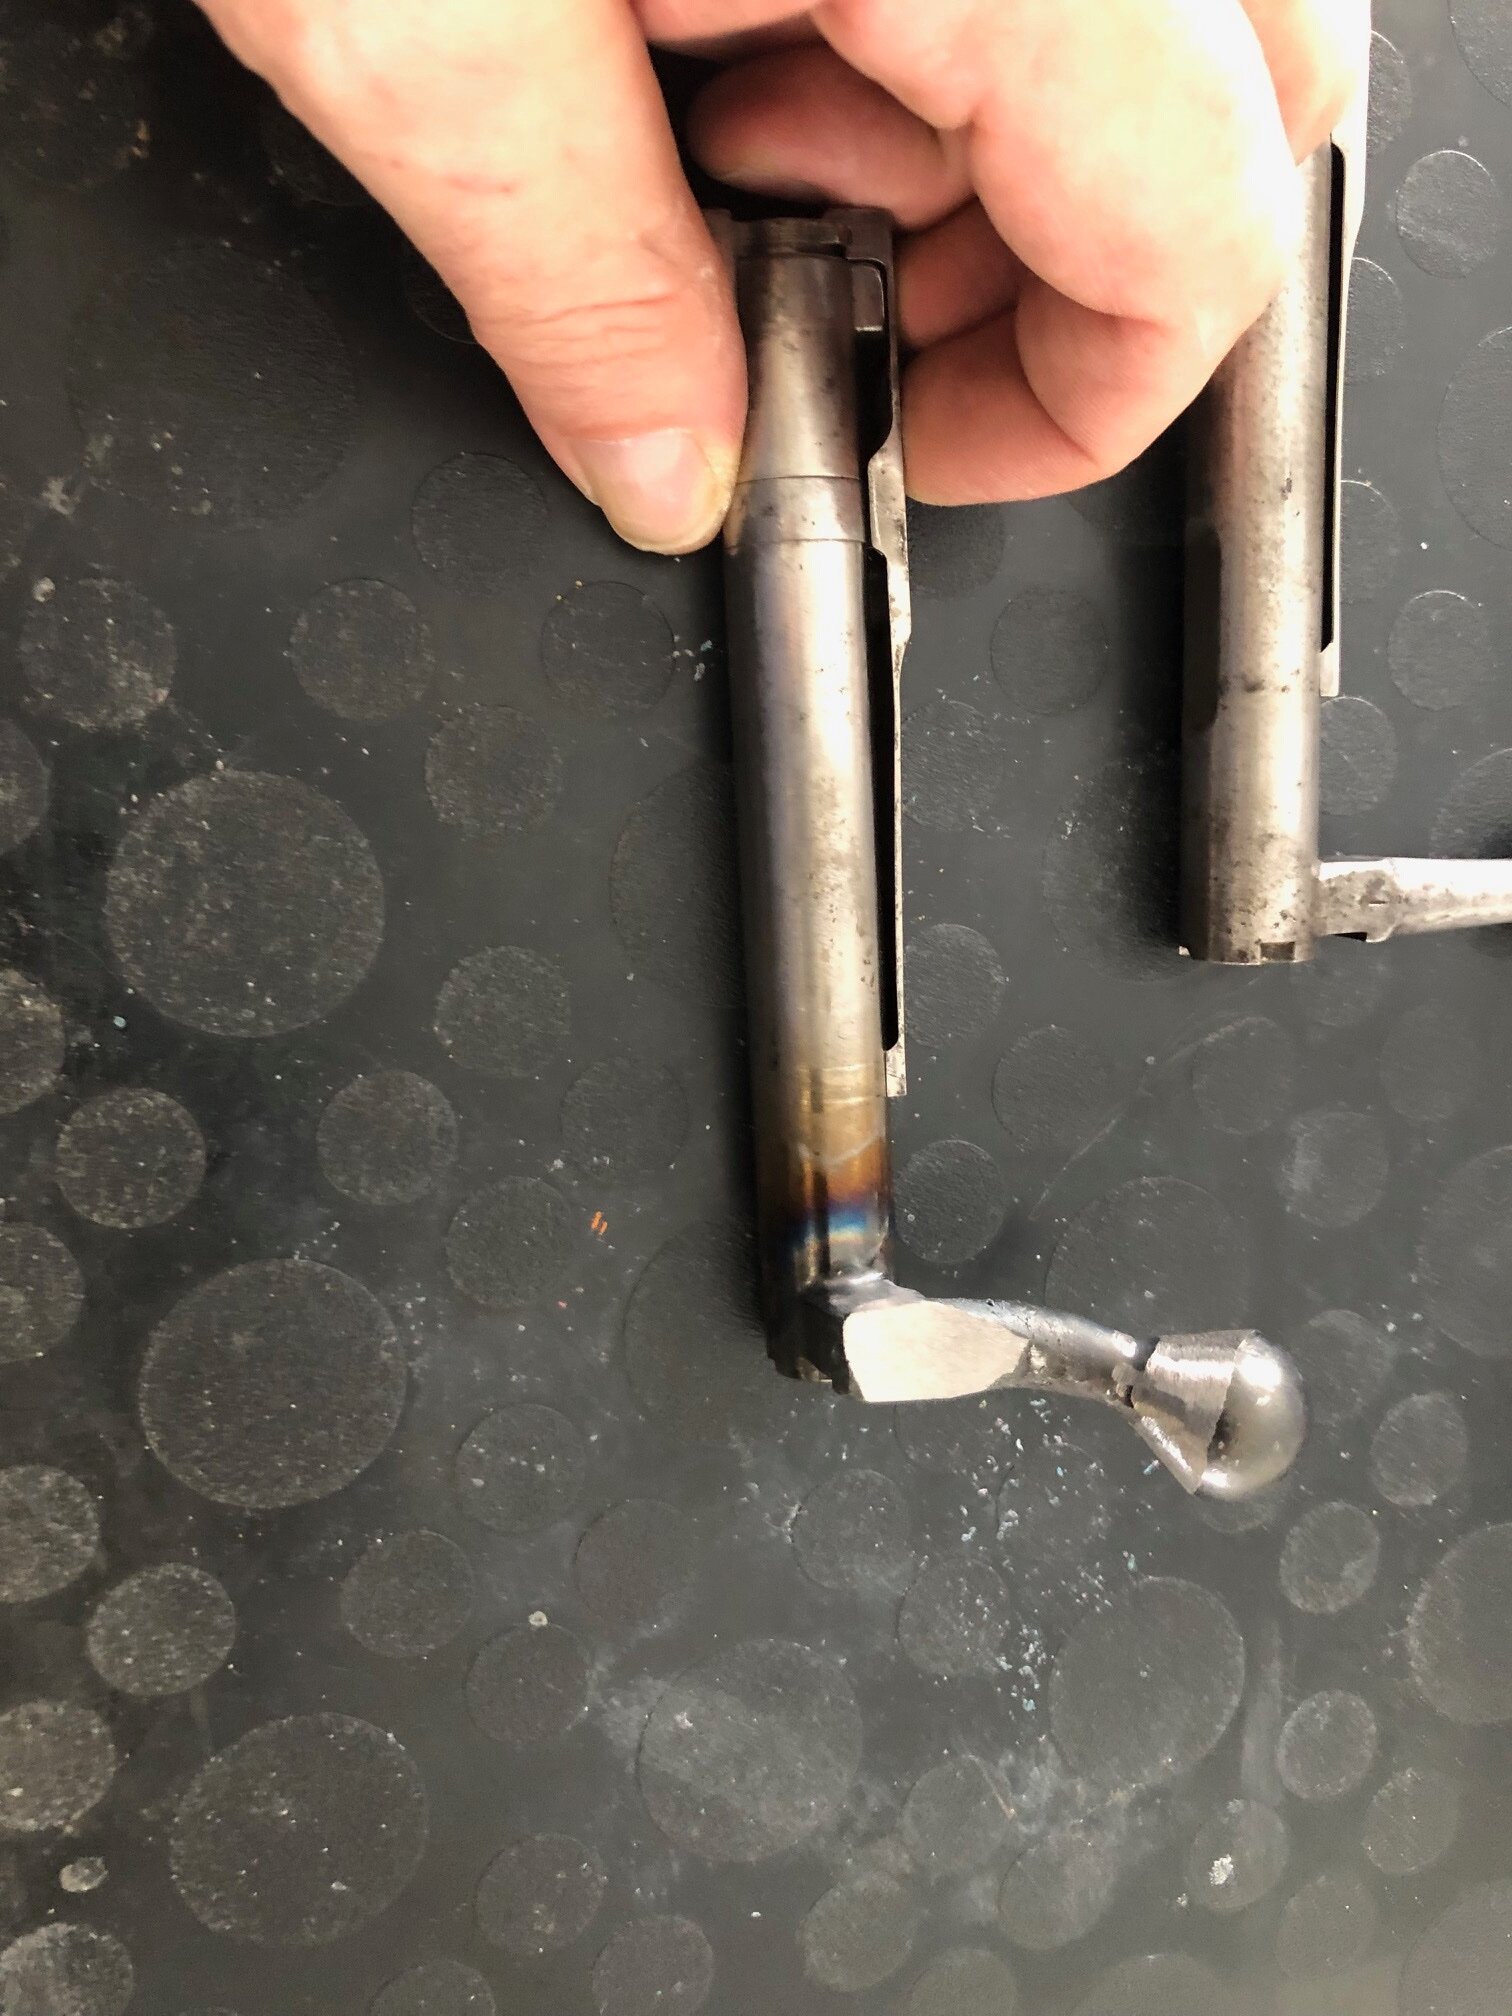
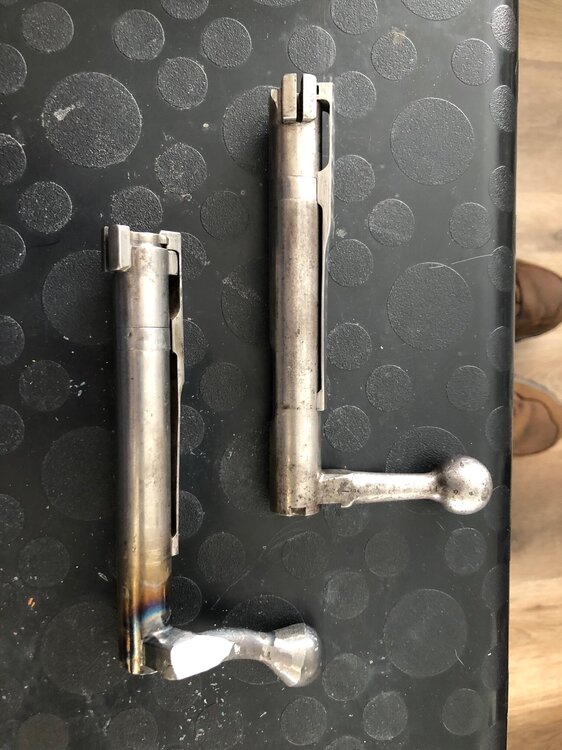
Thank you. Here is a little FYI. The jeweling jig in that photo was made from the same plans I got from the old Mauser central site before it went down. I finally got a membership to MC and have been posting on that site too as well as the hand loaders bench. I even posted the plans on the HB if you're interested. Here are some more pics of the before and during the process of forging and shaping the handle. I chose the pear shape for the knob because it gives the illusion of feeling and looking longer than it actually is. It is a serious understatement to say that you have to work fast during the forging process. It isn't for the faint of heart for those who have never done it. There is quite a bit more involved than just heating and pounding away with a hammer and punch. Honestly that is the easy part. Fitting, shaping, filing, sanding, removing the scaling and sanding some more, fitting some more then polishing I feel is far more involved with the process. But it is rewarding when it works out. Jeremy

-
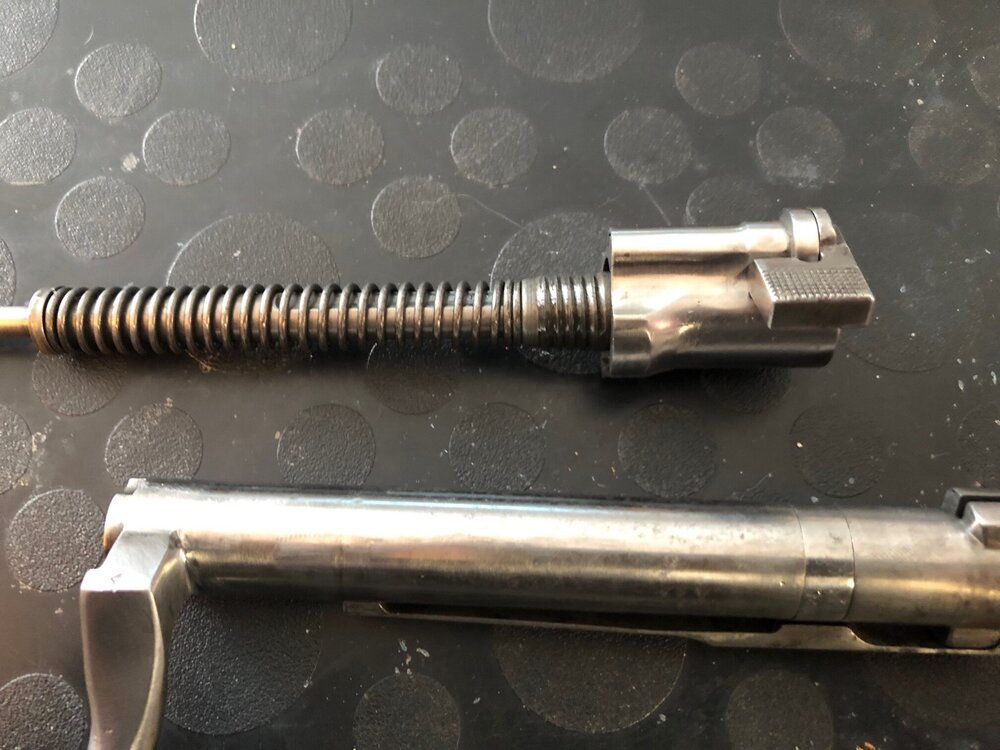
Hello gents it has been a while since I chimed in here. This thread has turned out to be very interesting to say the least. I really like the historical documents that you have produced and displayed for all to see Doc. I have been hard at work on my own builds 3 as a matter of fact. Wouldn't you know it on the very same receivers that everyone here is talking about. The infamous 1893 receivers that gets everyones hair up in a dander. One is from the lot of 11 that I bought from Gun broker at the end of last July and I even post pics of the entire lot on my own post on this forum. It one of the fabled 93's that has the 1916 arsenal modifications the oval gas escape hole the left side the receiver and in the original bolt that I don't have but have made due with a straight handled turk bolt that I have forged and bent to a classic sporter look. The next plan for work is jeweling the bolt body, drilling and tapping the receiver for a scope and drilling a gas escape hole in the bolt body because it doesn't have one. While I suspect that this receiver is a spaniard I cant confirm that because the crest was ground off once upon a time. The other 1893 receiver is a spaniard also made at the Oviedo arsenal in 1907 and is a survivor that didn't get any of the arsenal modifications of 1916. It is an import and had the Samco stamps on the barrel displaying the chambering I have decided to sporterize it too because it isn't #'s matching anywhere. That leads me to believe that it was probably a pile of parts thrown together and sold by Samco. The last action is a type 99 Arasaka that I finally completed piecing together a complete action and I bought a 338 Gibbs barrel yesterday which the receiver is more than capable of withstanding those pressures.
-
Once again I'm late to the party and it is the same reasons. I have been as busy as a one legged man in a butt kicking contest. Those rifles look like fun projects. I'm glad to hear that you got a pesky broken action screw removed. Do you still need a recoil lug?
-
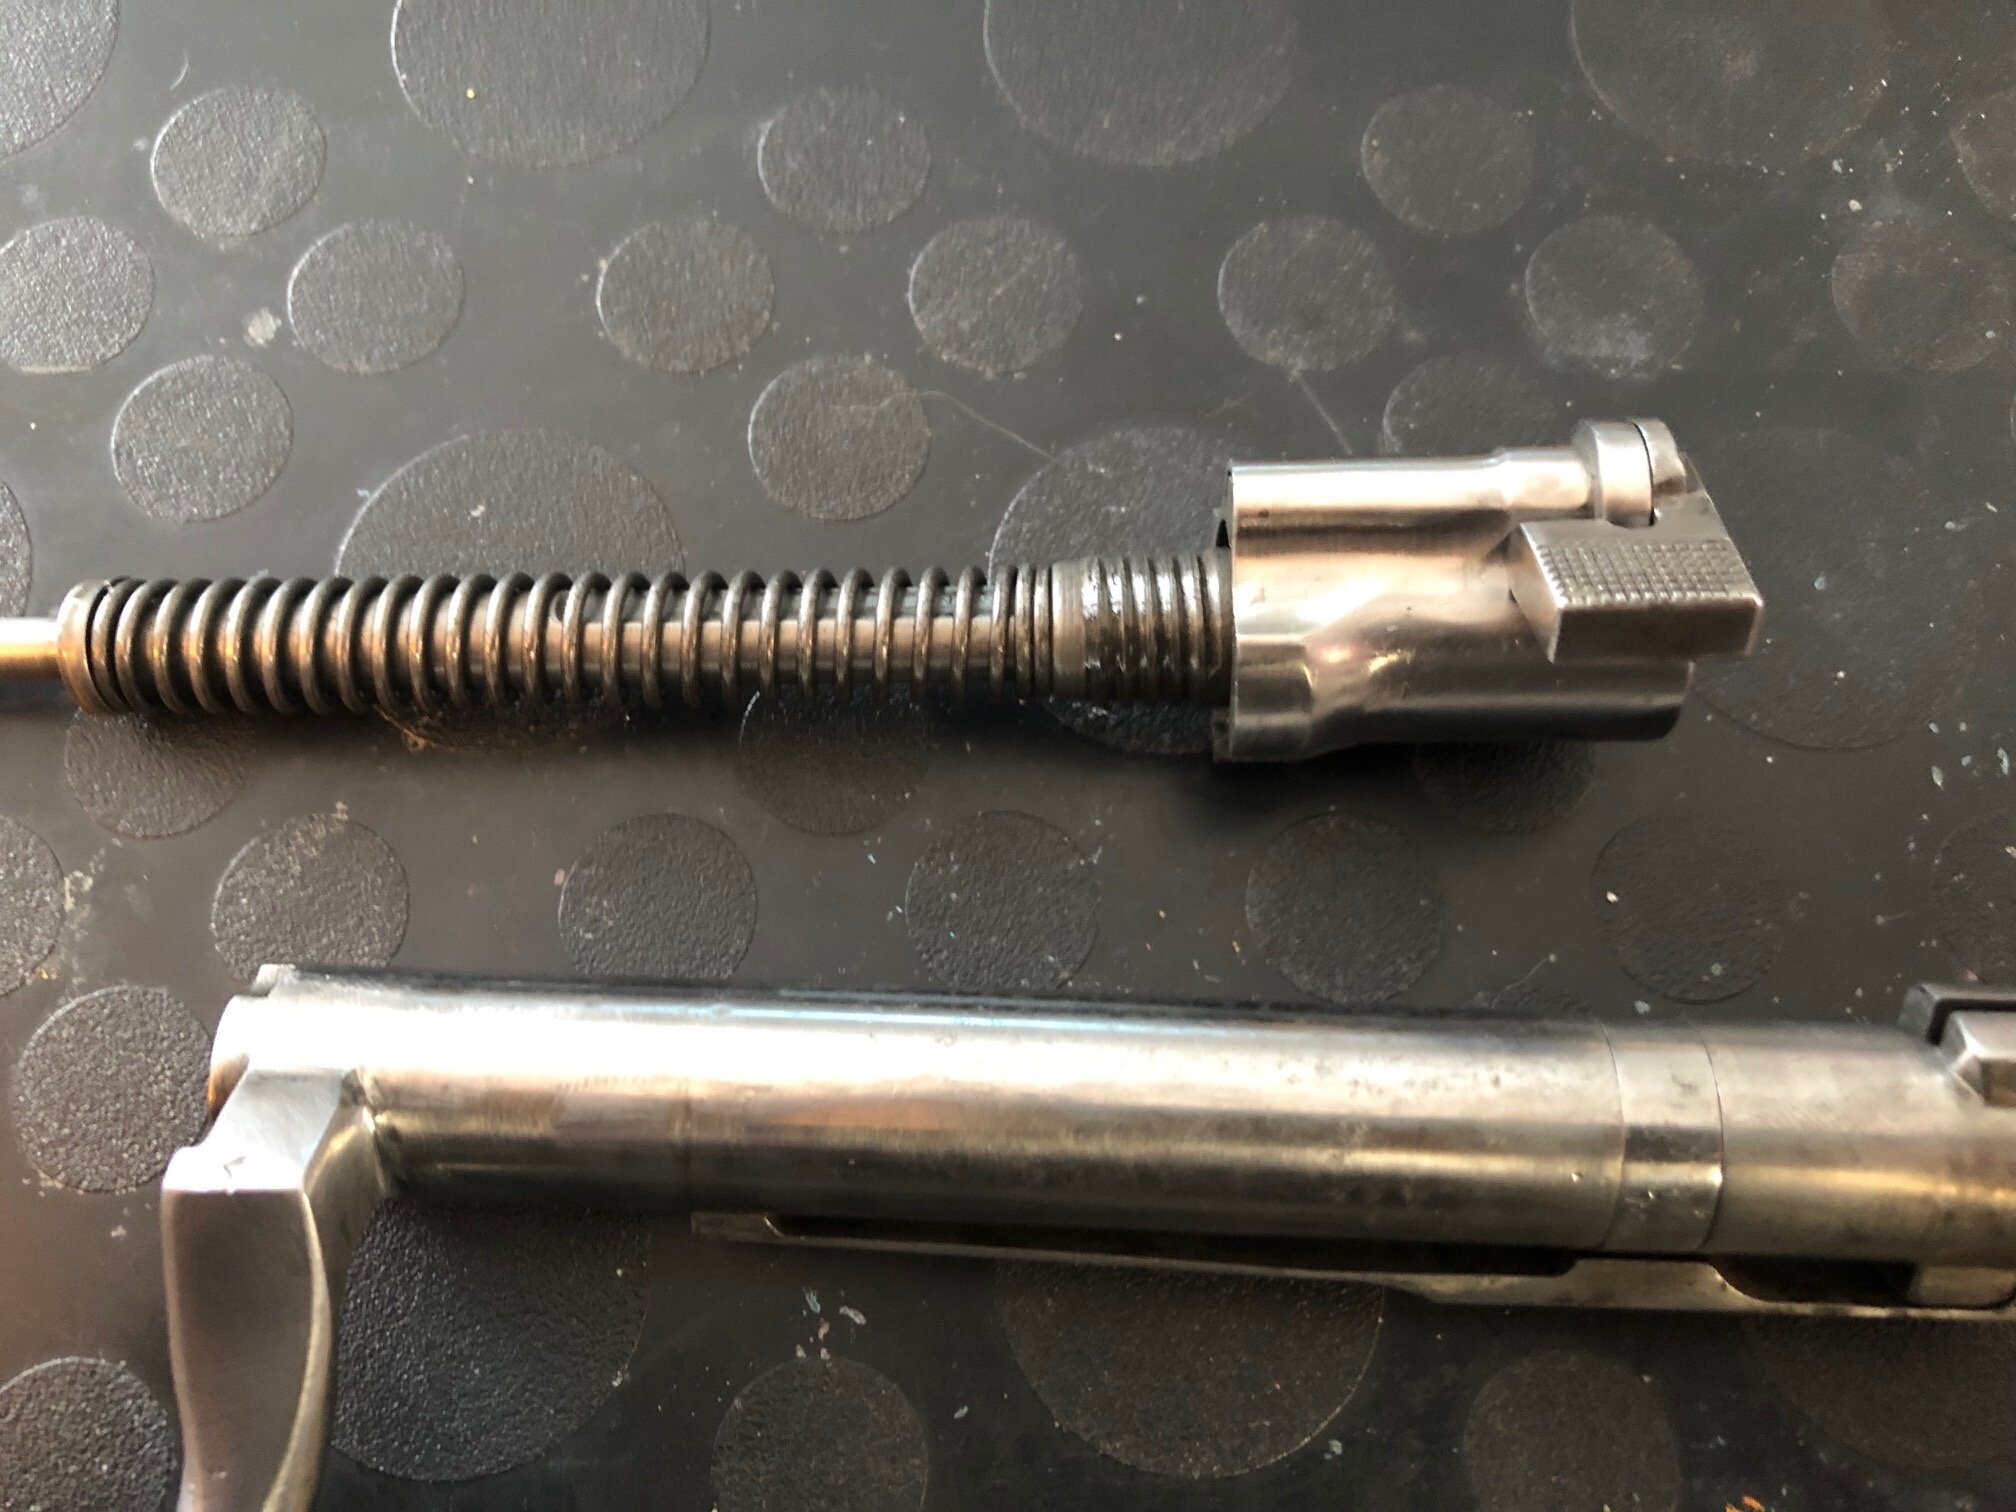
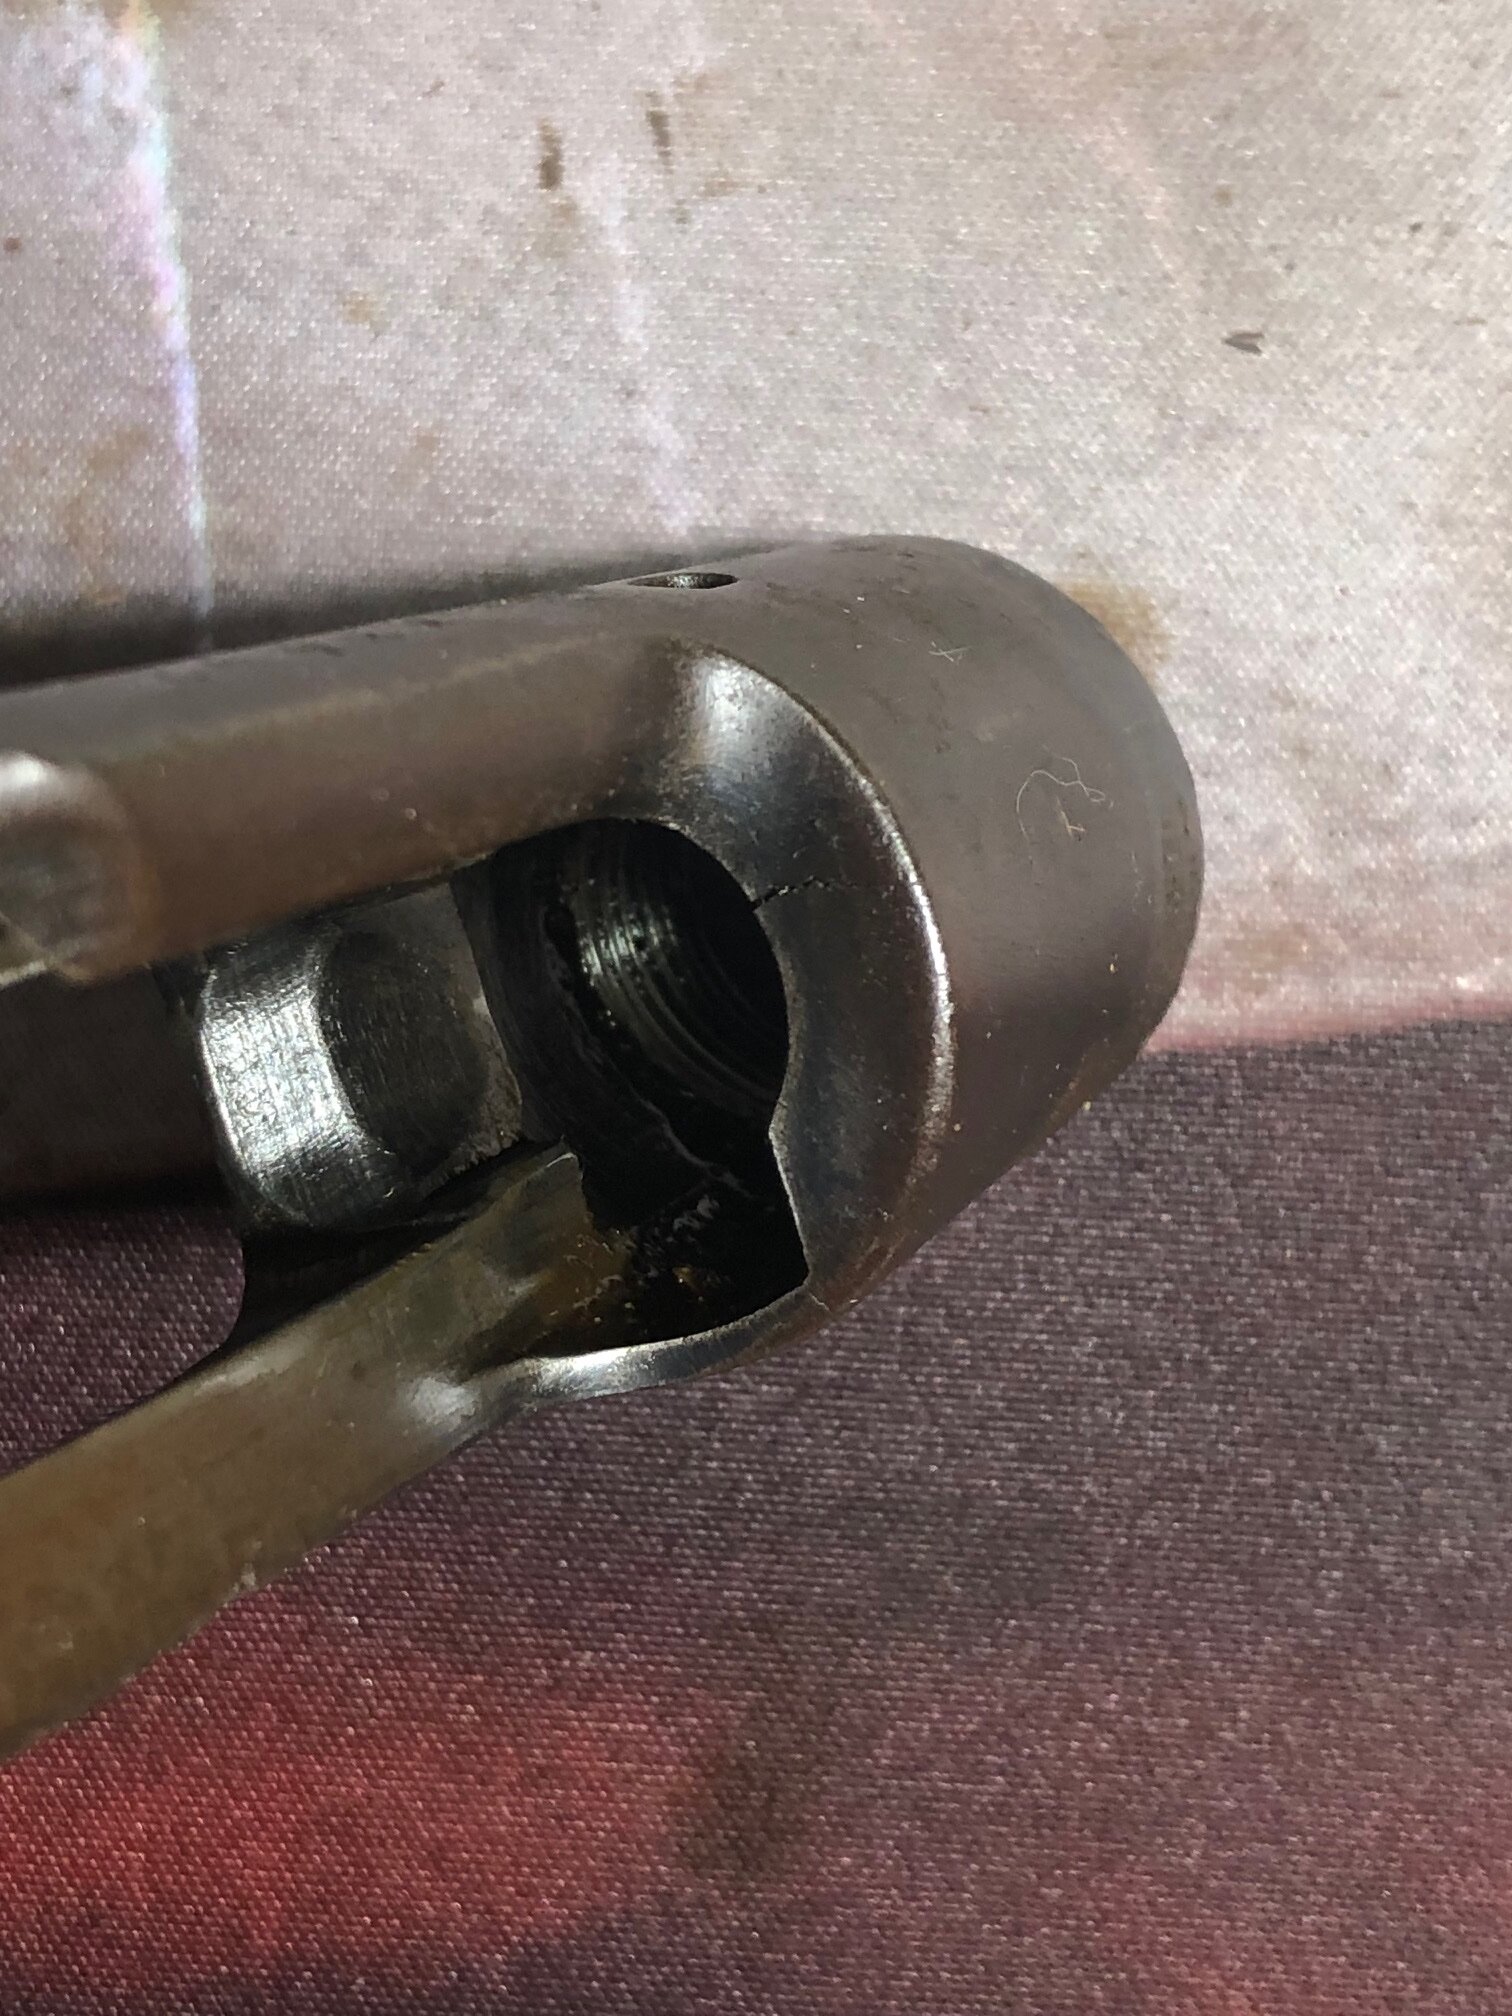
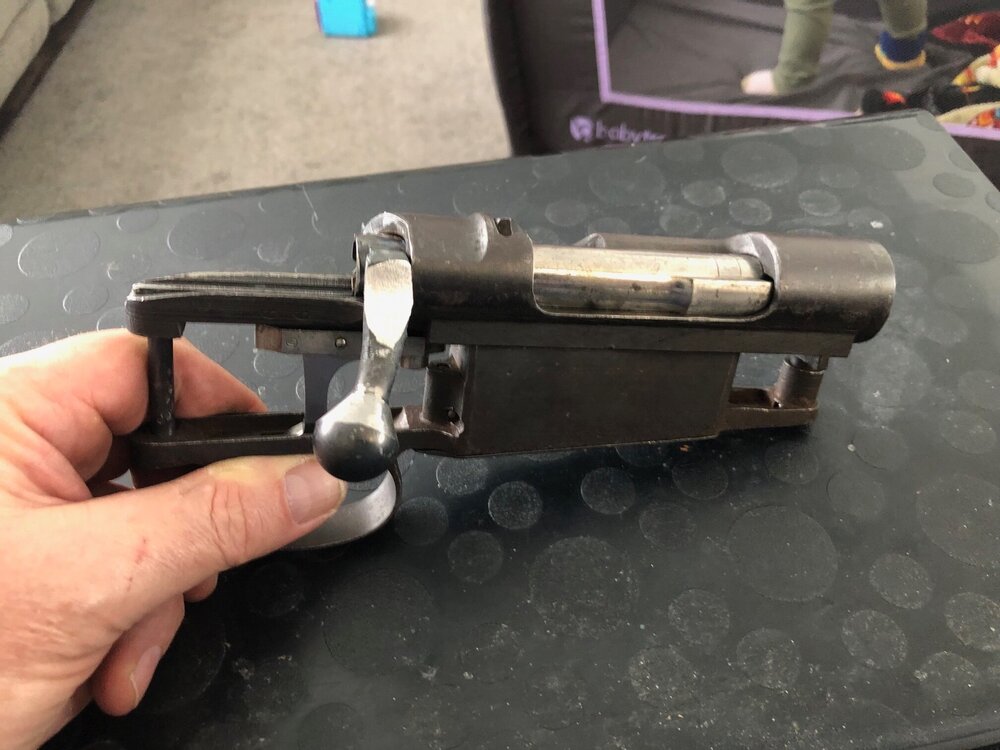
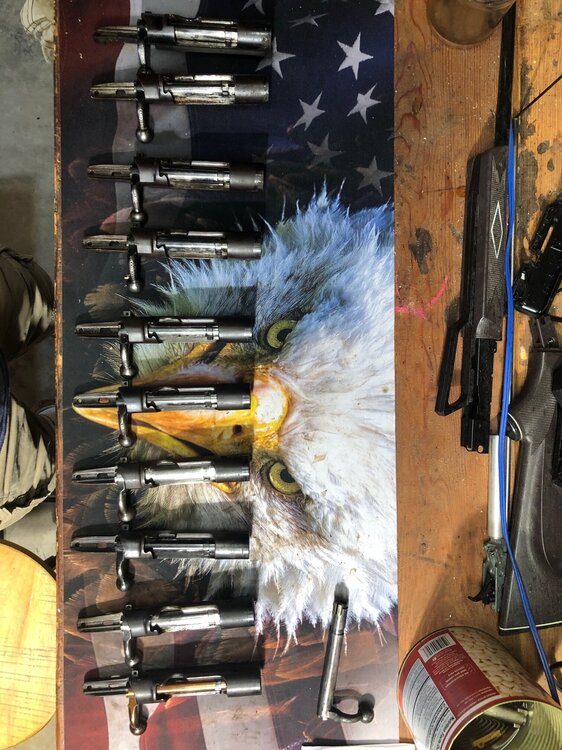
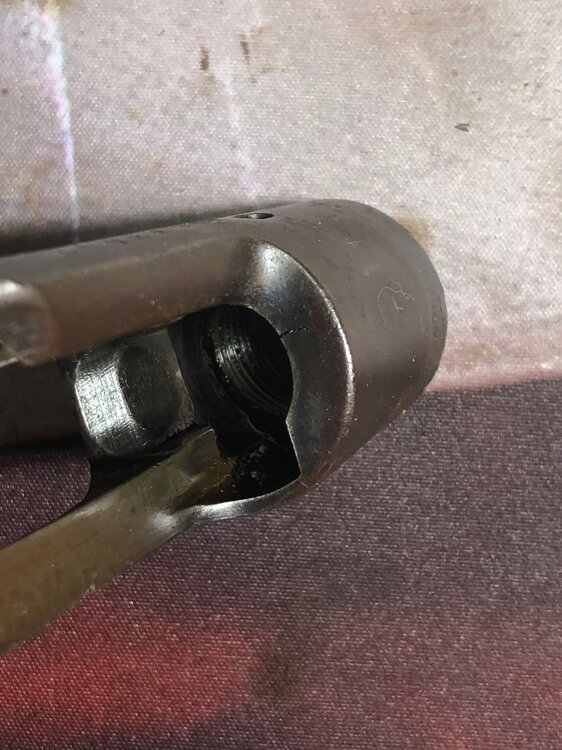
I cleaned the entire lot and made some headway between daddy duty. I matched the receivers to bolt bodies. 4 receivers have very little to almost no pitting. I can't believe it. The best ones are on the right. Even the ones that do have moderate pitting are still in very usable shape. There is only one receiver that is unusable because it is cracked along with a bolt body. It was likely the victim of someones experiment to prove or disprove the strength of the actions once upon a time. Who knows? This was still an excellent haul. If you look closely you can see the crack.
-
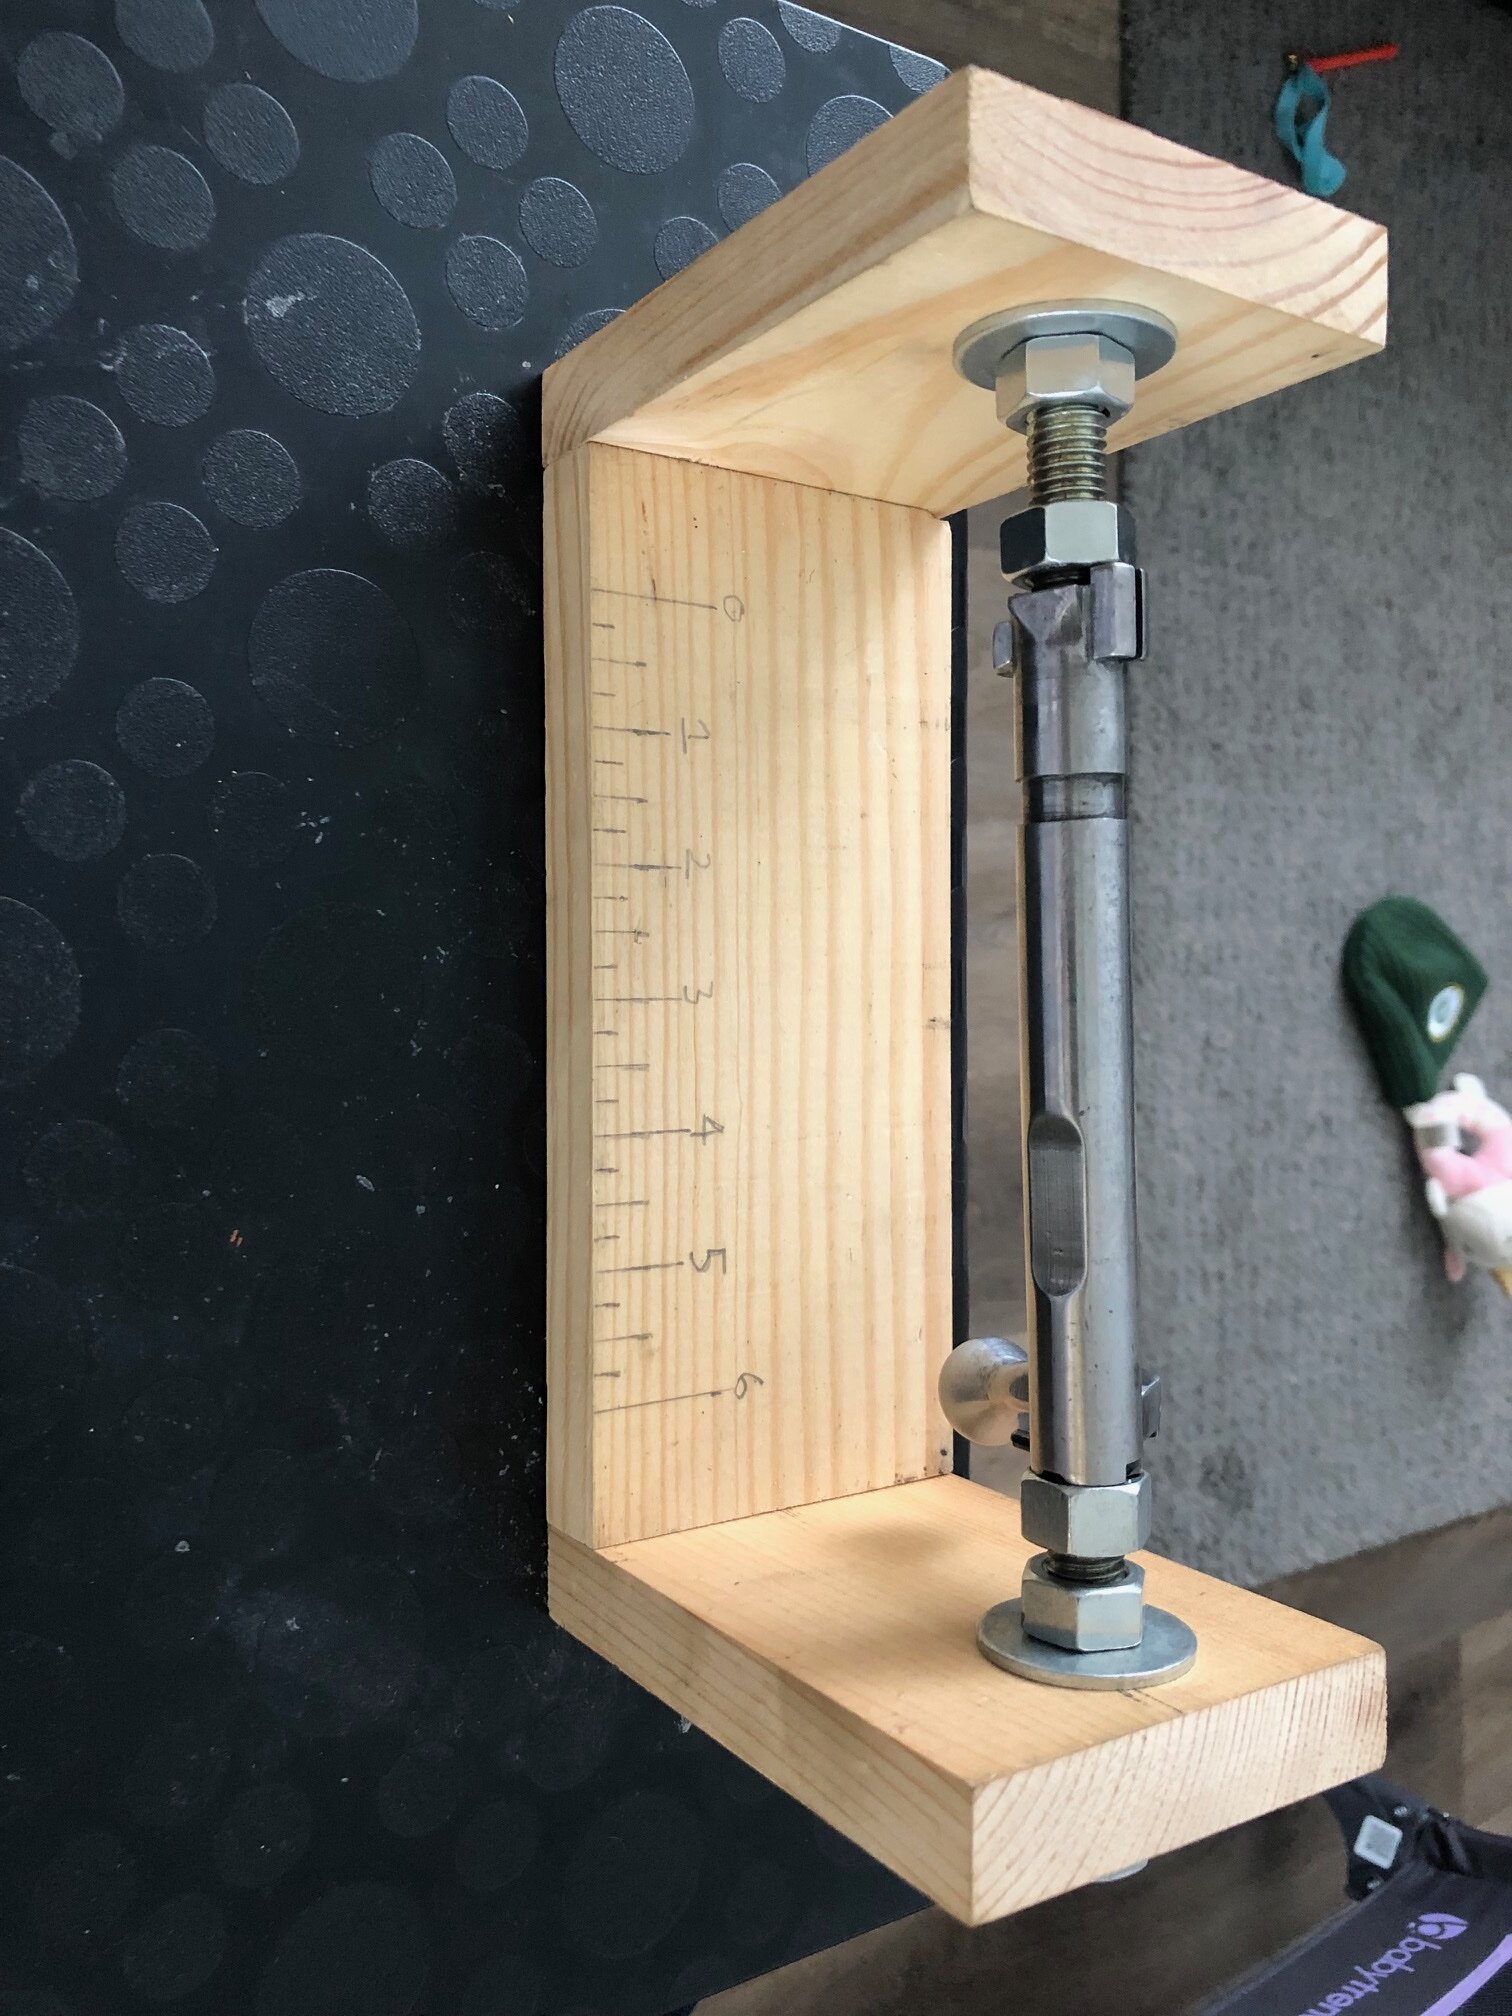
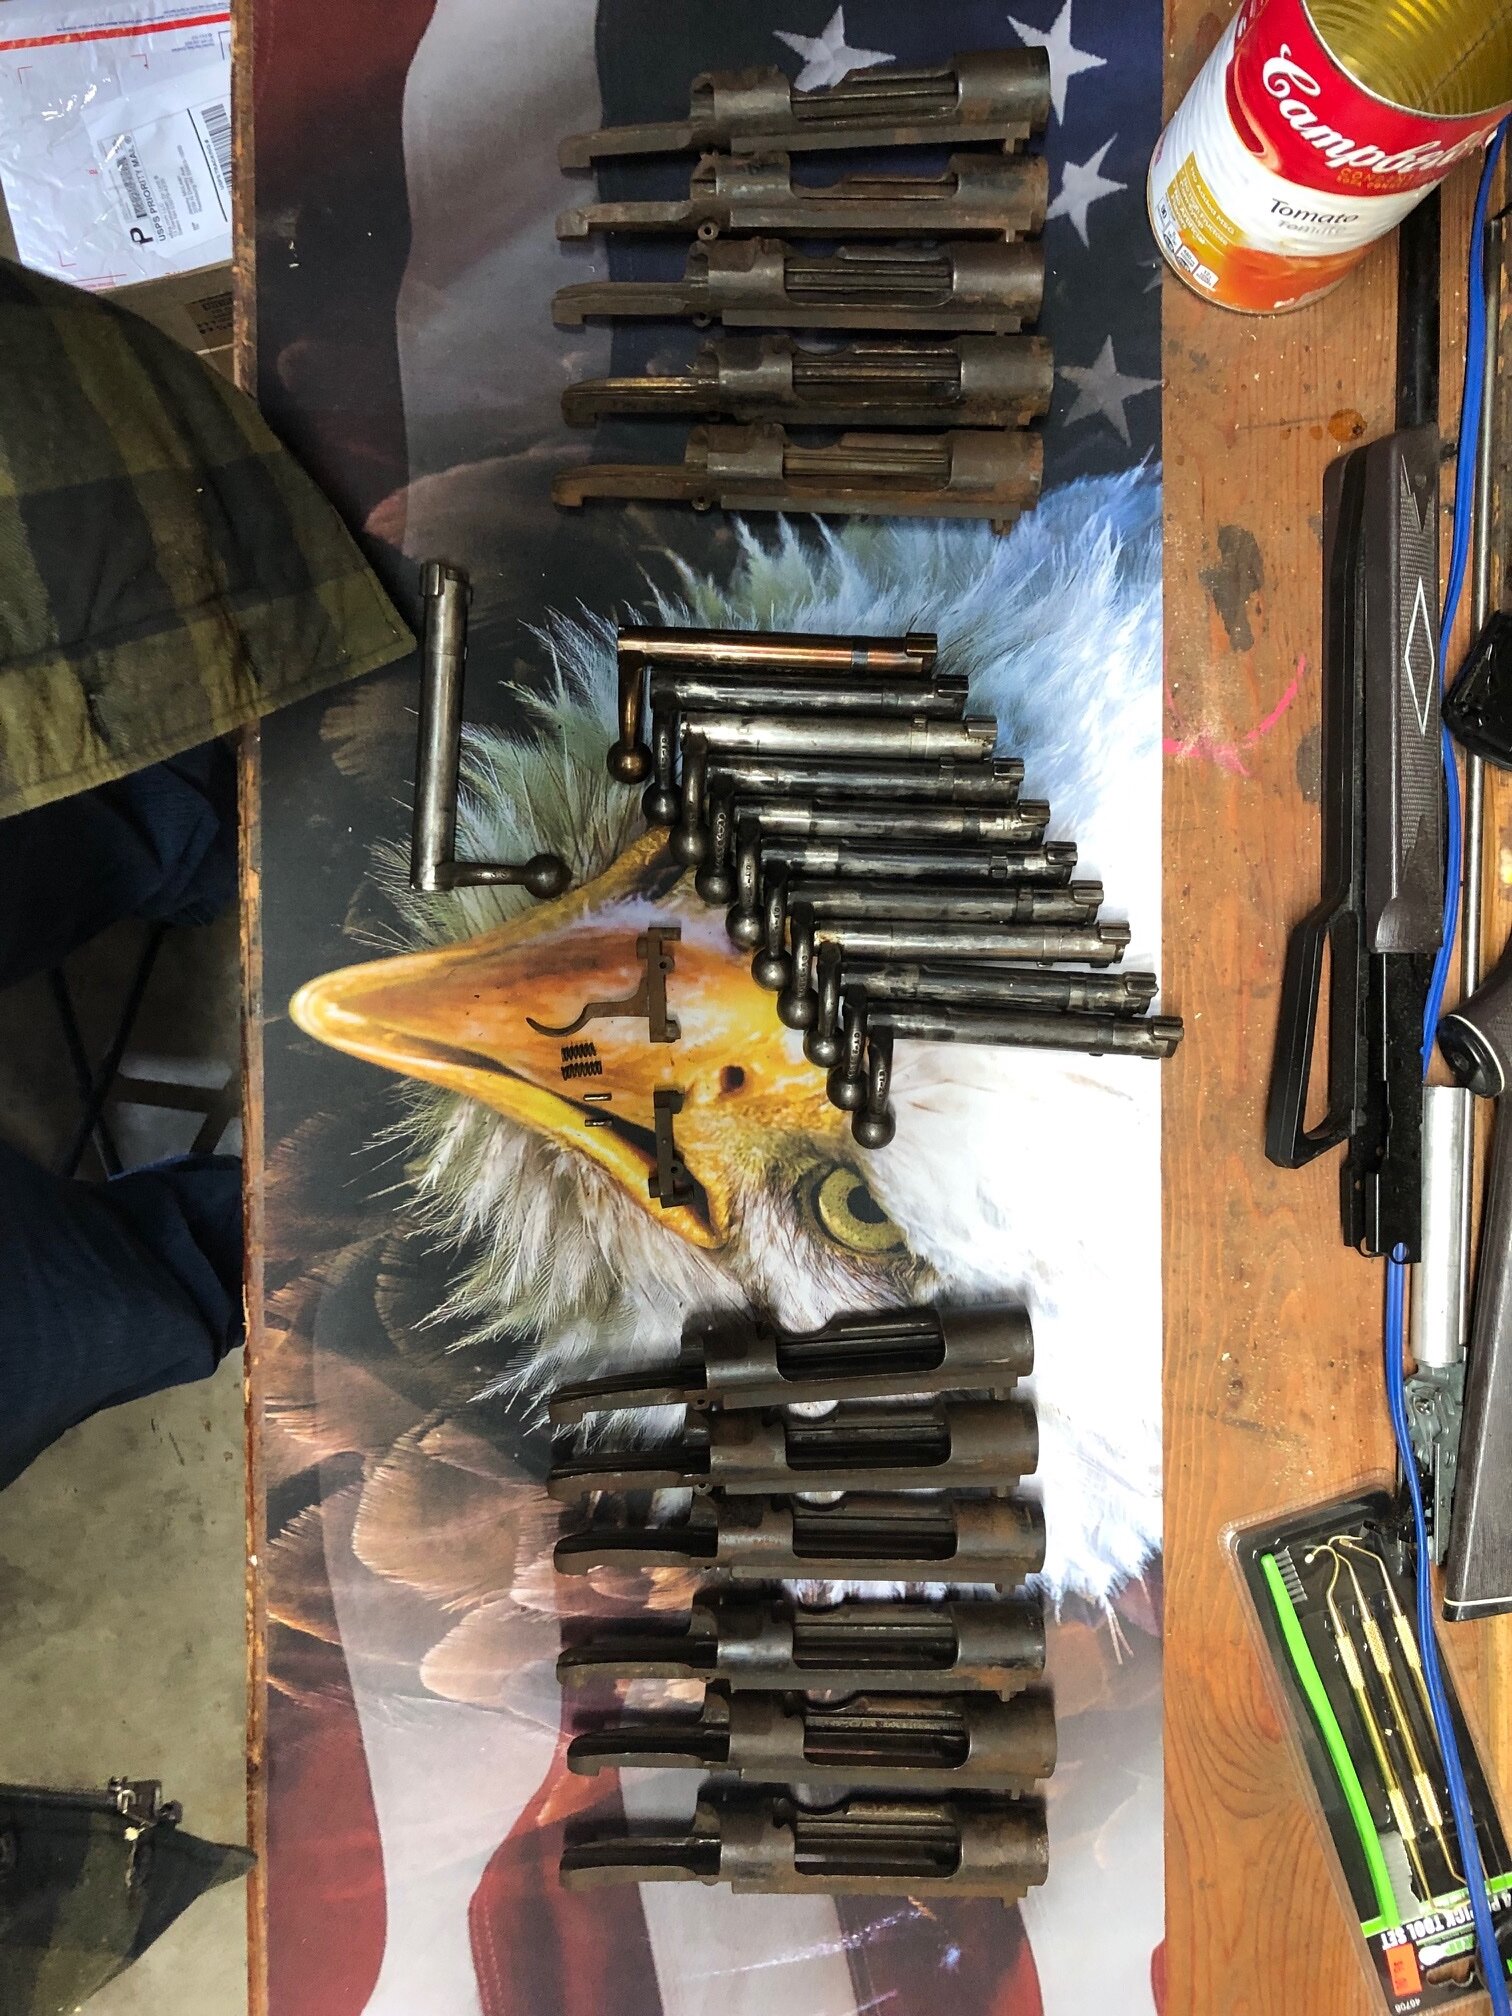
I was cut a deal with my FFL fee. I'm a regular customer for them. It is a steeper fee than $25 per background check to the tune of $40 and the limit of 4 serial numbers per form 4473. So the grand total of my investment was $183. $67 for the wining bid $30 for shipping and $6 tax. The entire lot has a total of 40 individual parts so that is $4.57 per part and still a smoking deal. Unfortunately none of the bolt bodies and receivers aren't numbers matching. 4 of the receivers don't have any pitting they are just dirty as hell. 6 of the receivers had broken action screws in the holes below the ring. I was able to easily remove 4 with a hammer and chisel and the last 2 I had to use an easy out.
-
All of them are Spanish from the Oveido arsenal. This is all of the bolt bodies, receivers and other parts that came in the lot.

-
Boy do I ever. I just picked up 11 bolts and 11 receivers from my local FFL. They are all 1893 actions. I won them on a gun broker auction for $67. Lets just say I'll be busy for quite a while. Now I am on the hunt for the rest of the parts I need and some tooling.
-
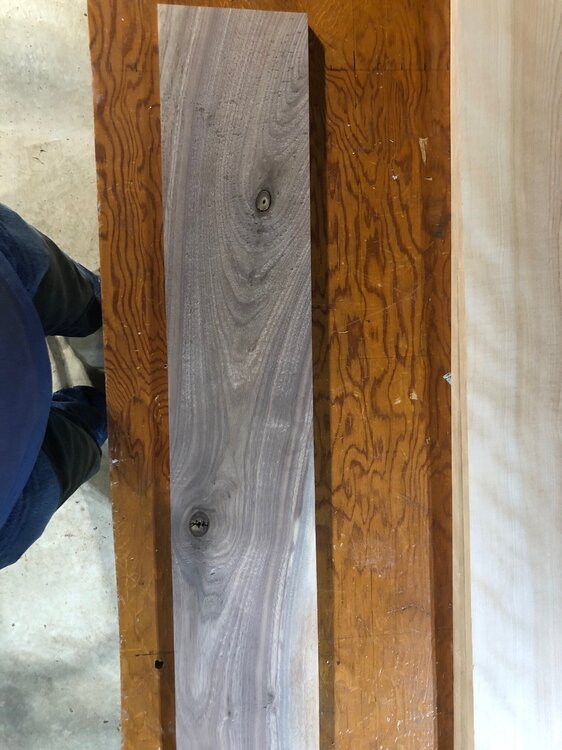
If you get a blank out of it that would be really cool. Just leave the heart wood alone and try to get a nice piece of crotch. The heart wood will be too soft. I will post more pictures as I progress into the project.
-
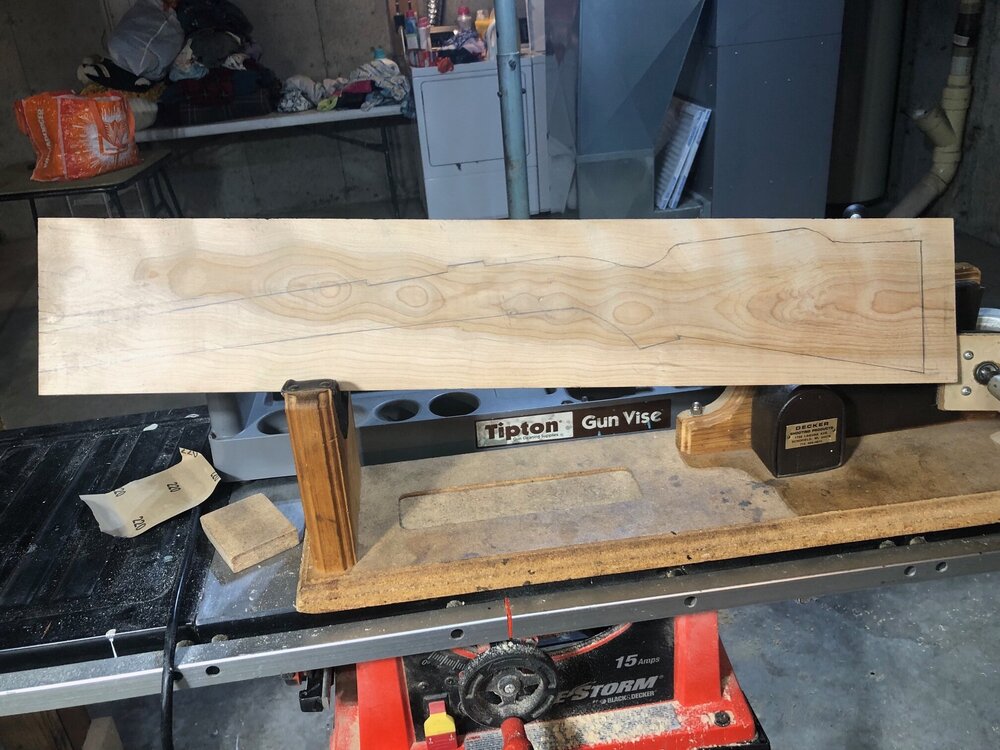
Here is the pattern drawn onto the blank.
-
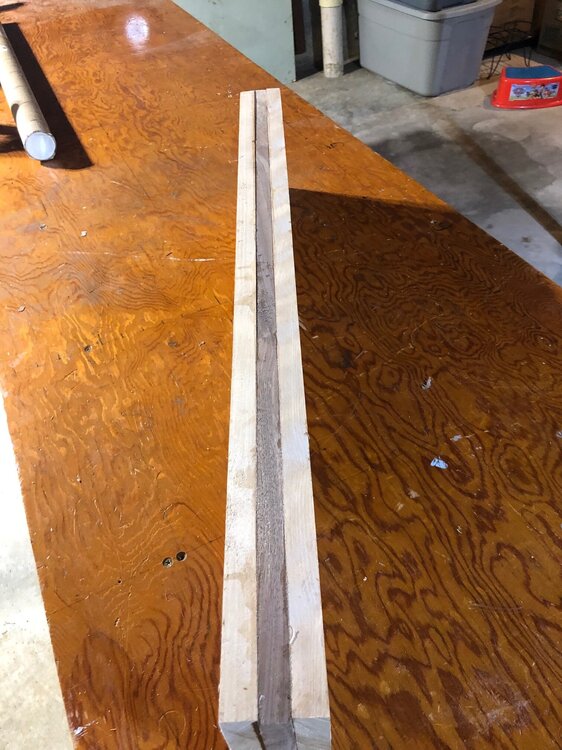
After the past couple of days of being a keyboard commando and searching the web for the elusive stock that I want use to fit the new project that I want to tackle I pulled down one of the stock blanks that I have on hand. The one I have chosen to use is one that I made from scrap pieces of yellow birch and walnut that I laminated together last year. These pictures were taken last year before I glued it together and after to show the figure of the wood that I used. The birch was left over from a longer piece that I used to make into transition molding and the walnut was from other projects that I had from on time or another. Some being loading blocks of all things. Stay tuned for more pictures of my progress.


-
You're probably right about SARCO and I've come to the same conclusion about eBay. I still watch eBay closely because deals can be had. I do the same with gunbroker too.
-
Thank you. Yes that is almost unheard of a numbers matching small ring Turk. I too would be apprehensive about making it into a sporter. I hope you have some good luck finding a worthy stock. I have been looking and waiting for the right time to get the stocks and barrels. It may be a while for me to get everything together. I noticed as of lately the price of parts has ballooned since the pandemic and availability of original parts has all but disappeared.
-
I have 2 more complete actions that need barrels and furniture. Stay tuned for pictures.
-
I have been busy being daddy day care. My wife and I had a little girl on March 18 Charolette Grace. She has been keeping me young. I decided to save the Cherry fore-end tip blank and instead use re-claimed ebony piano keys to make the fore-end tip. It took 15 piano keys and some tight bond III to make the blank.
-
Show us a picture of the rifle it will help us to better help you. Otherwise we are just taking wild ass guesses at it in the dark. After taking a look at some of my literature I'd suspect that your rear trigger guard bushing/ferral isn't long enough, or is missing completely which will cause the trigger to bottom out against the trigger guard as you are describing. Or like you have stated there are sometimes distinct differences between the models making the parts non-interchangeable and that isn't uncommon. What was done at the Spandu arsenal wasn't done at the Steyr arsenal etc...
-
Being myself I took a look at my current situation as it pertains to materials and tools on hand to complete a stock from nothing more than a bare bones blank and I have decided to wait until I get some of the tools that I don't have to make it right. I don't want to put the cart before the horse. There are some chisels, gouges and rasps that I don't have that will make life easier I forgot to mention a band saw too. It's best that I wait.
-
Gotcha. I don't plan on doing that but is good to know. Thanks.
-
Which form of the cyanoacrylate did you use and how did you apply it to the wood?
-
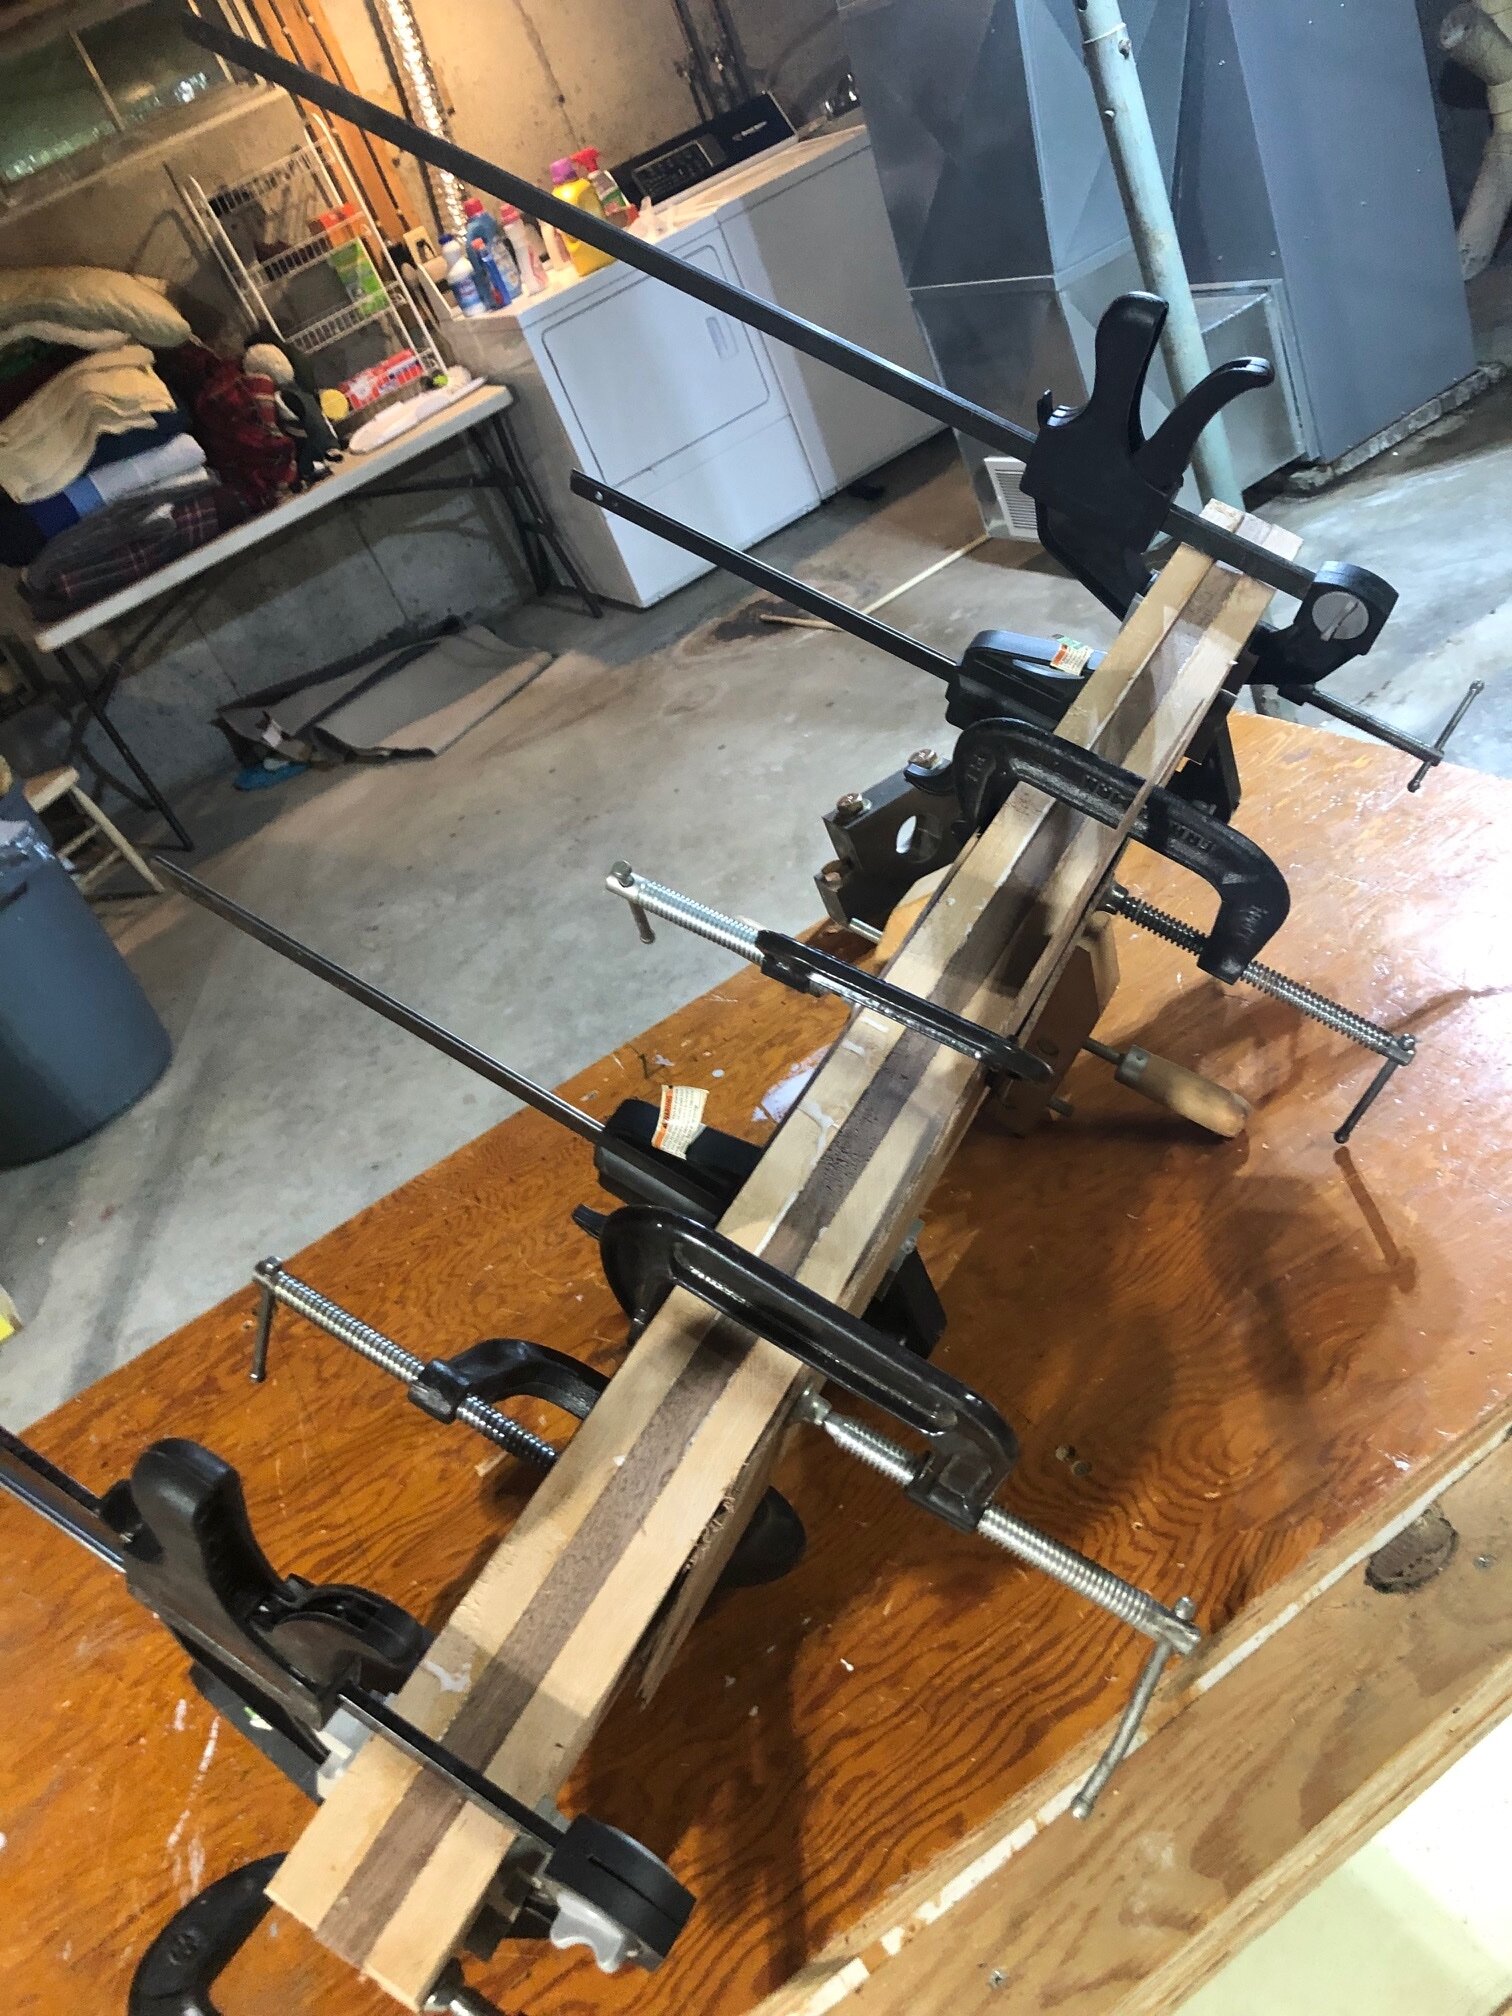
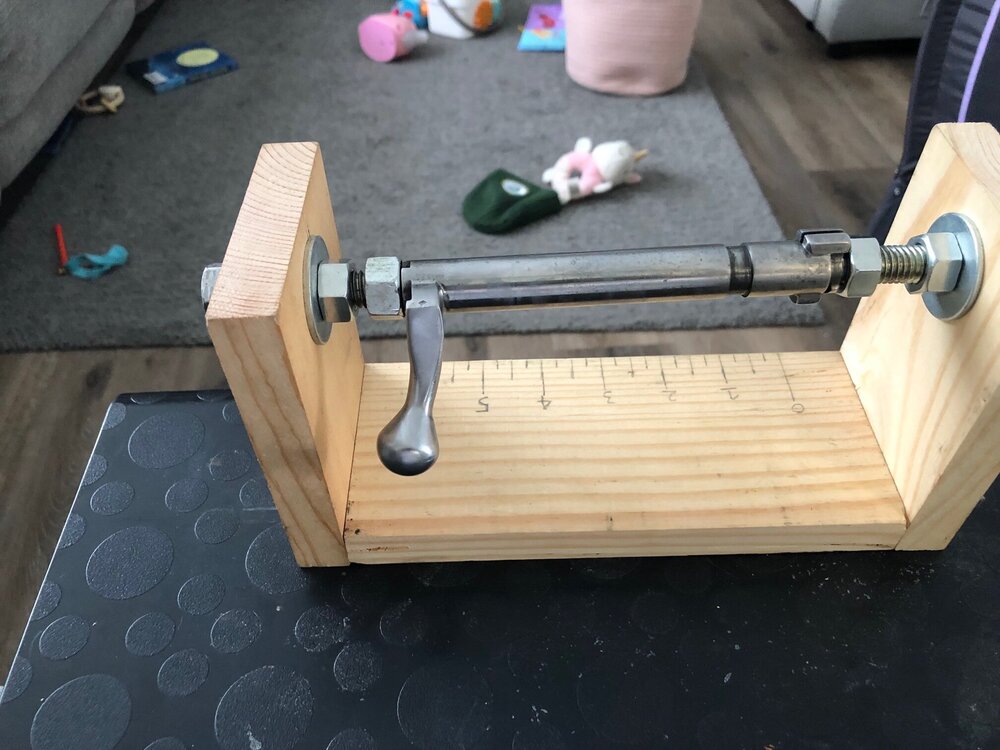
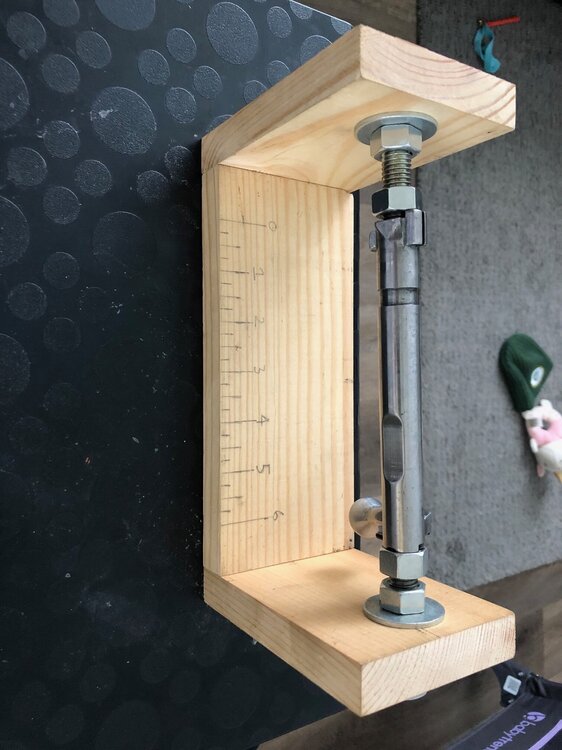
I have really been inspired by the way this thread has evolved. From a simple question to a whole new topic but is still relevant to the original question. So today I have started making my stock makers cradle from scrap wood that I have laying around. I'll post pictures of it a little later I have a meeting with my sons teacher.
-
That is exactly what I mean. Exotic woods is what I should've said. You figured out what I meant. THAT IS A BEAUTIFUL STOCK!!!!
-
What is the most interesting stock that you have made so far?
-
Those are very nice stocks. How long does one take you?
-
I have nothing but time to think about it. I'm really happy that I found this forum to get informed opinions because as the name of the forum implies spoterizing.com. From all of the threads that I loitered over before I joined. I noticed right away there aren't any flame wars or name calling just solid information shared among a bunch of gun nuts who pursue the same objective which is to keep the old war horses alive and not just be keyboard commandos. Thanks for all the help gentlemen.